API Request and Response
| Component | Type | Description | |
|---|---|---|---|
 | API Request and Response | 🔀 action | send an API request and wait for a response |
The API Request and Response component allows you to send a request to an API, and then wait for a response from that API. The workflow is paused until the API response is received.
There are two ways to set up the API component: by writing a cURL statement, or by manually setting up each field such as the endpoint, body, request type and so on.
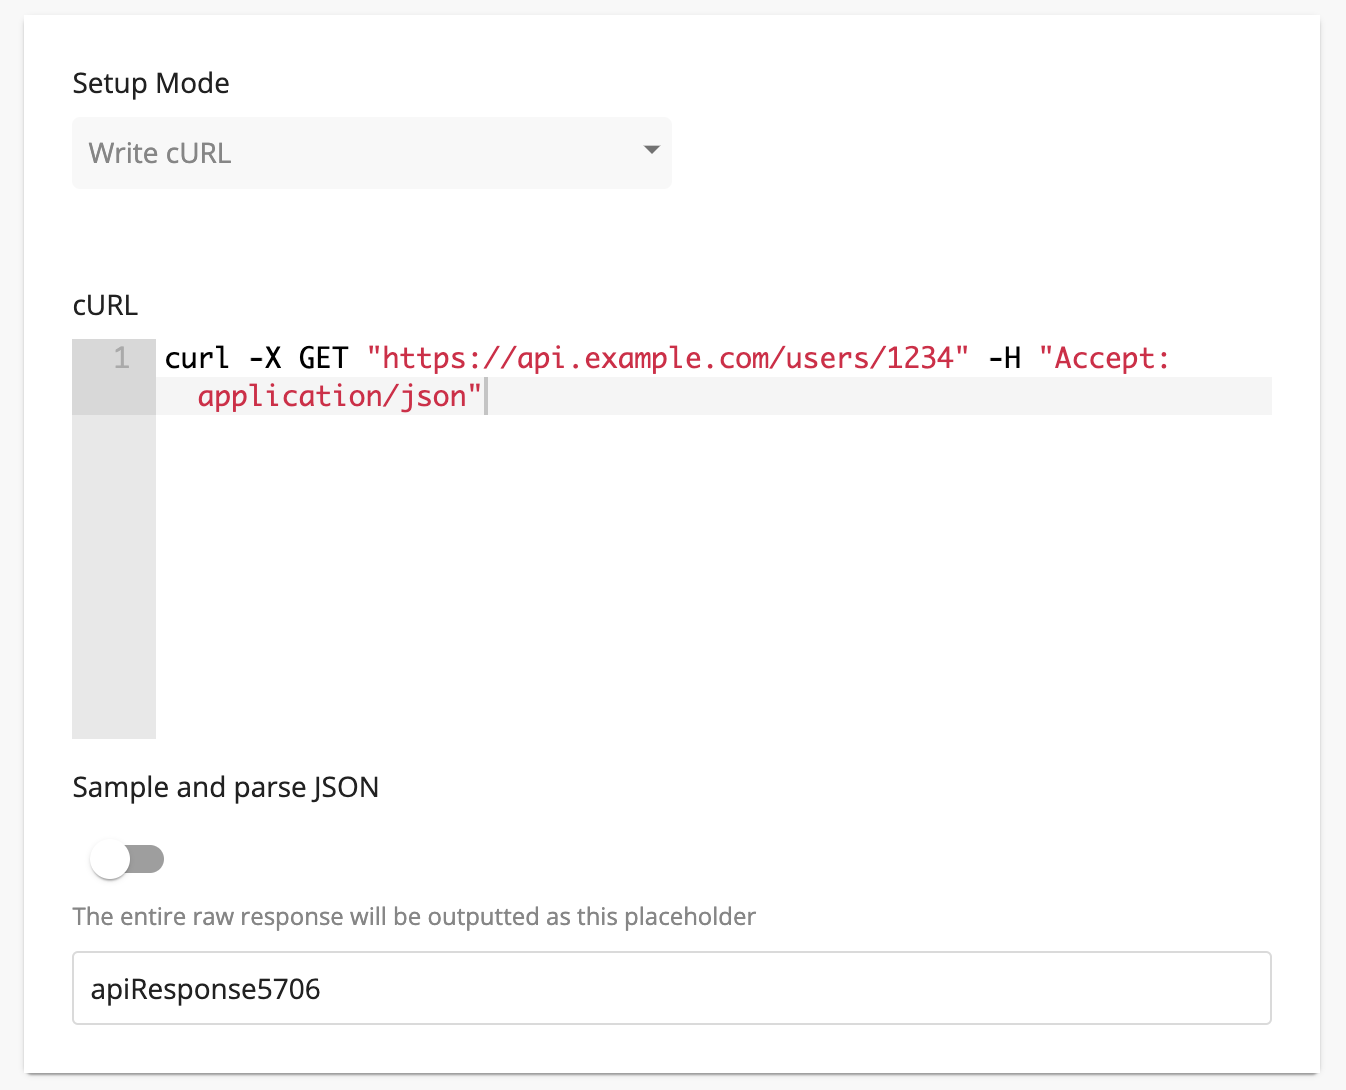
Write cURL mode
In the write cURL mode, you can write a cURL statement which specifies the request to be made. The cURL can also contain placeholders.
Manually set each request field mode
When entering the API Request and Response manually, the first step is to set up the request that will be sent.
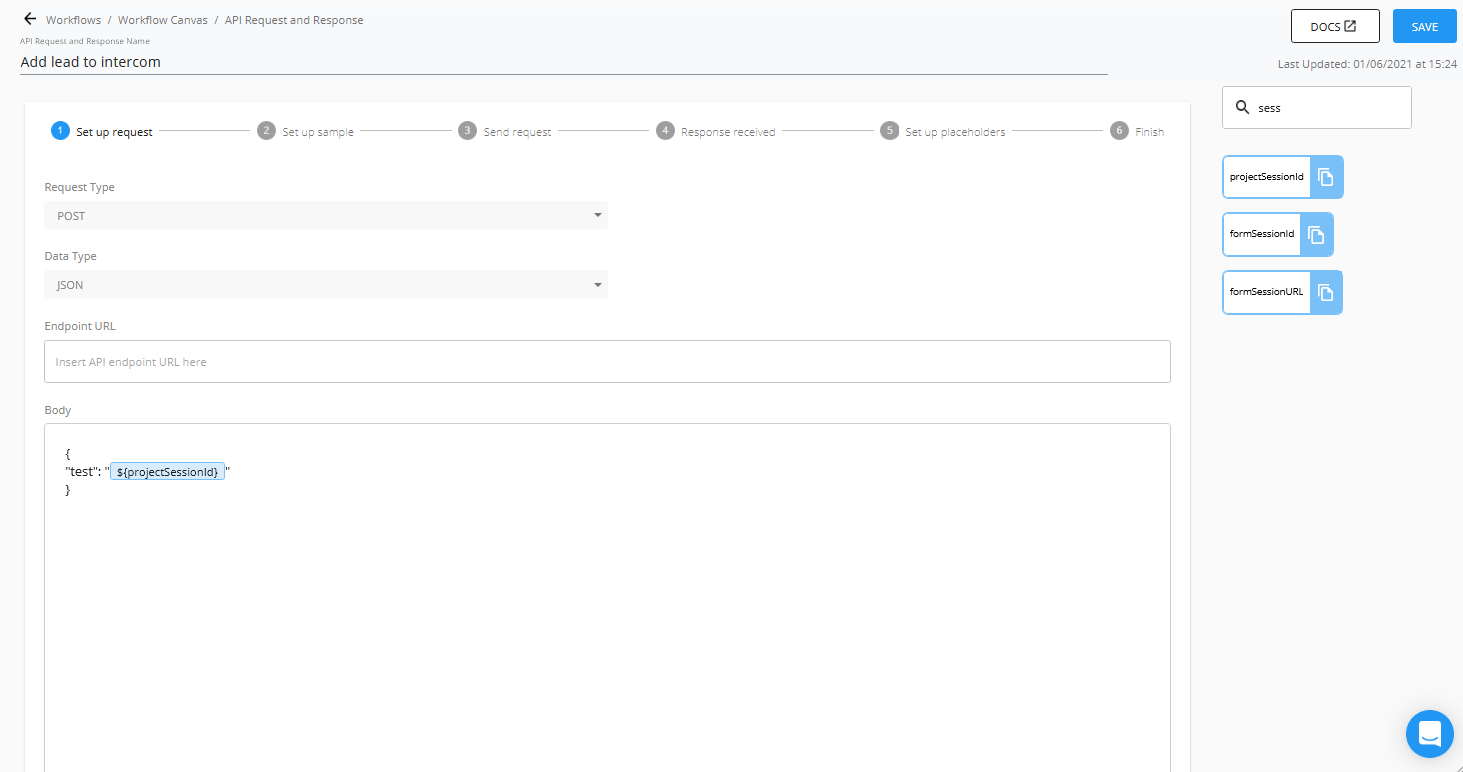
Request type
Select the request type. You can choose from POST, GET, PATCH and PUT options.
Data type
Select the data type for the request. Currently only JSON is supported.
Endpoint URL
Insert the endpoint URL for the API here.
The endpoint must start with "https". If it starts with "hhtp" and redirects to "https", this component may not work properly as it does not allow for redirects.
Body
Construct the body of the request here. You can insert placeholders inside the body as well.
If the value of the placeholder is a string (i.e. text) make sure you place quotation marks " " around the placeholder i.e "${placeholder}". This is not required if the value of the placeholder is a number or boolean.

Ensure that the body of your request is correctly formatted. If it is not correctly formatted, you may be prevented from progressing in the set up, or the component may not work properly. Contact us if you need any assistance.
Custom headers
Click add header to add and configure custom headers for the request.

Setting up API sampling and parsing
When performing an API request, you have the option to either output the raw response as a single text placeholder, or to process the response into placeholders by mapping a sample response.
You select which option you want to perform by either turning on or off the "Sample and parse JSON" switch. When turned on, this will add additional steps to obtain a sample from the API and then map it to placeholders.
Turning on "Sample and parse JSON" will make the API component not editable by the AI.
Setting up the sample request
You will now need to configure the sample request. This step is required to retrieve a sample response from the API, which will then be used to map out placeholders.
Note that this will be configured the same as for the request you have just set up. However, if you used any placeholders inside of the body, you must now substitute those placeholders with a sample value.
So while your original request body with placeholders looked like this:
The sample request body will need to be something like this:

Sending the sample request
Now we will send a sample request to the API endpoint to get a sample response. Click Send Request to trigger the sample request.

Once a sample response has been received, you will automatically move onto the next step.

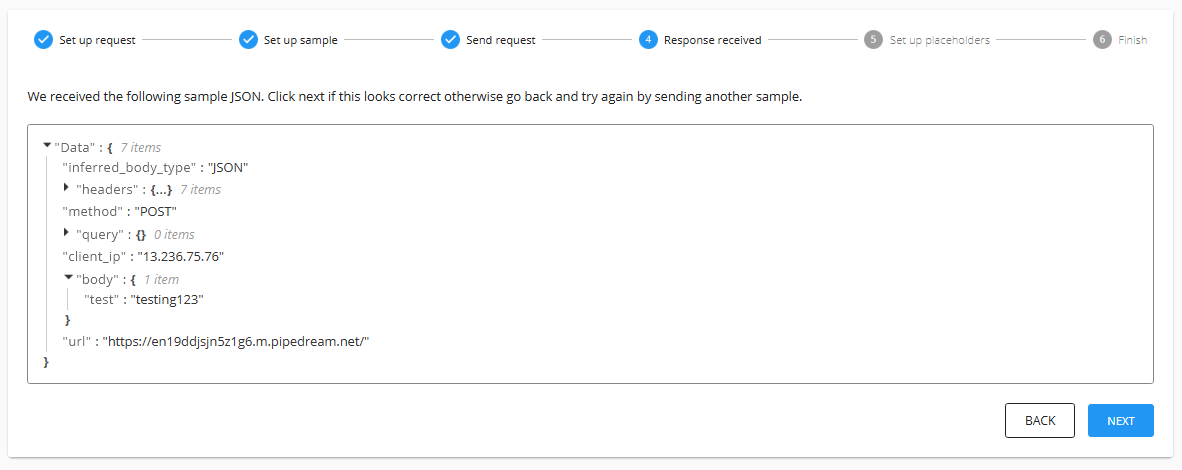
Response received
You can inspect the response that was received from the API. If everything looks correct, click next to proceed. If something is wrong, then click back and try adjusting the sample request.
Set up placeholders
Based on the sample response, potential placeholder values will be automatically mapped. You can then select or unselect those which you do not require. You can also change the label for the placeholders in the third column as well.
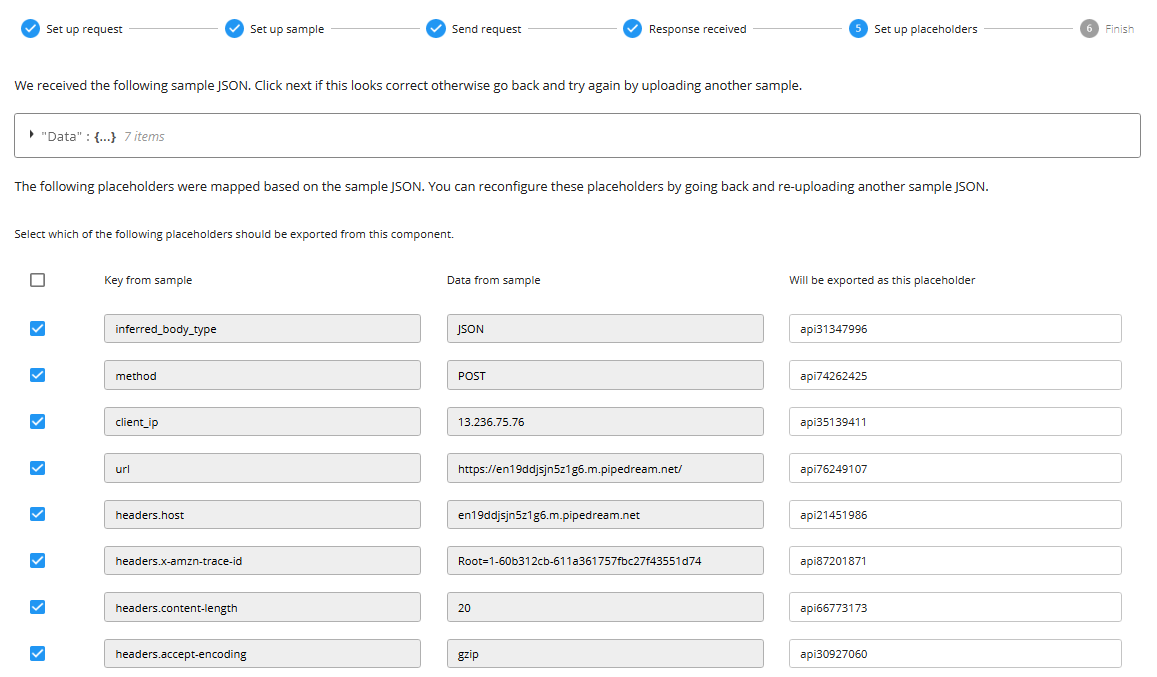
Click next once everything is mapped to proceed.
Finishx
You have now set up your API Request and Response component 🎉. The final page is a summary of the request that will be made, and the placeholders that will be generated from the response.
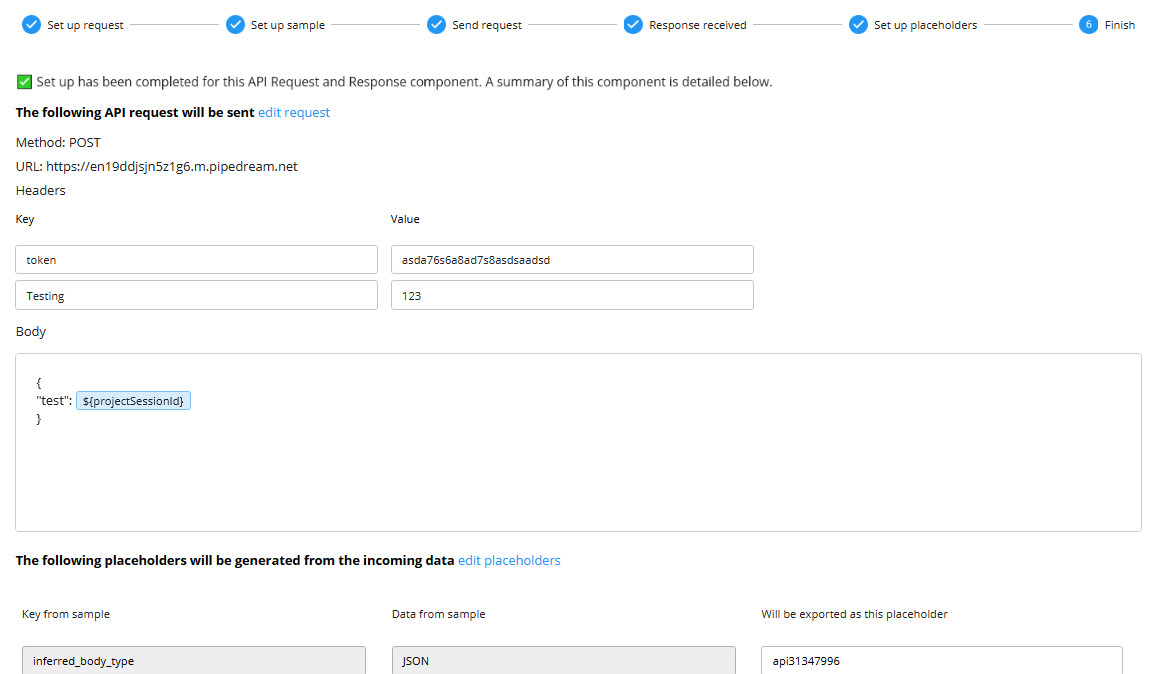
You can now save and exit the component.