Access to a workflow
Control which editors can view and edit a workflow
You can control which editors can view and edit a workflow by going to workflow library and then clicking on the Access button.

This will open a dialog where you can select the workflows each user can view and edit.

Alternatively, you can also control view and edit access to a workflow inside of a workflow itself. Click on the Access button and then select the editor users that can view and edit the workflow.

Administrators can always view and edit all workflows.
Control who can use and interact with specific components in a workflow
You can control who can use and interact with specific components in a workflow via the workflow access controls, which can be found in the workflow canvas toolbar:
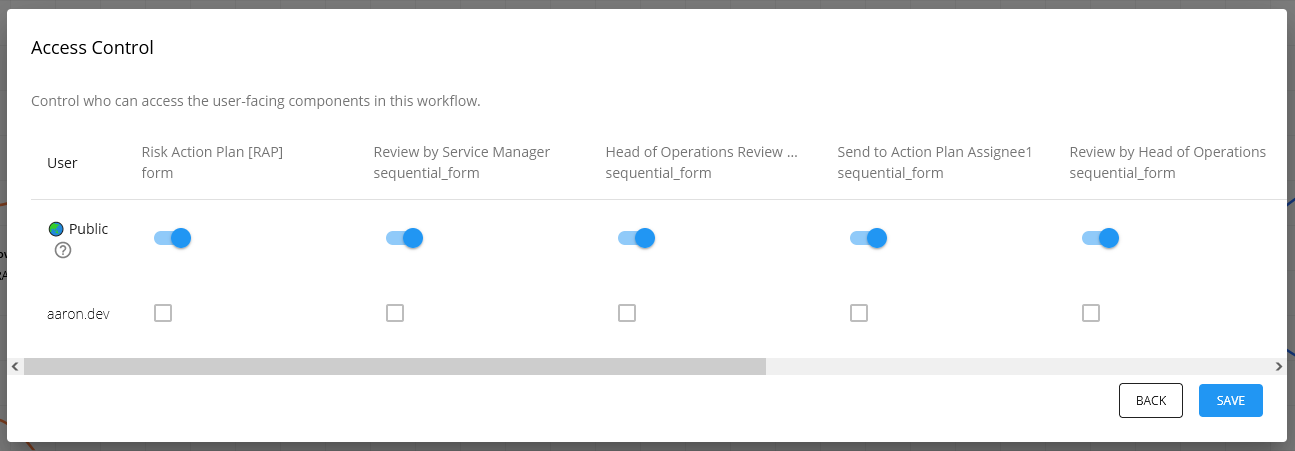
Clicking the Access button on the canvas will bring up the access control panel for the workflow. Inside of the access control will be a table with a column for every user-facing component in the workflow.

The workflow access controls will display one of three possible modes:
- Restricted - all components are restricted and require login
- Mixed - some components are restricted and others are public
- Public - all components are public and do not require a login
By default, all new workflows are automatically set to RESTRICTED, with access given to all users in the current organization account. Be sure to check and change this if you want the workflow to be run by others.
What is a user-facing component?
User facing components are components which require some sort of user interaction to run. For example, submitting a form, uploading a spreadsheet. User-facing components include:
- Form
- Sequential Form
- Upload Spreadsheet
- Webhook (public by default)
Note that access controls are set for each component individually, meaning that you can have some components that are public and others that are restricted in the same workflow.
Allow anyone to run the component
If you want anyone to be able to run a component, turn on the Public switch. Once this is turned on, the component will become public, meaning anyone can access it and make submissions from it without needing a Workflow86 account.
Restrict a component to users only
To restrict a component, turn off the Public switch. You can then check which users inside of your organization you want to allow to submit from that component.
When a component has been restricted, users must login before being able to access that component.
Example
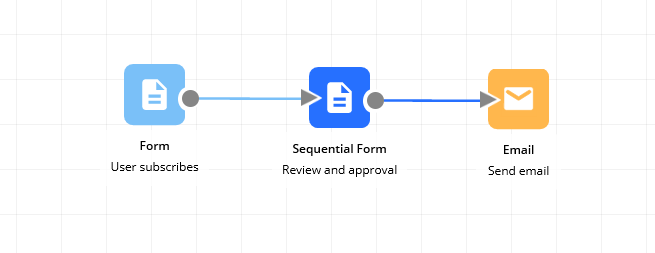
Let's say you have a workflow like this: there is a public facing form which you want anyone to access and submit, which then goes to a sequential form sent to someone in your team to review. The sequential form should only be accessible by someone in your team because it involves an internal process or decision:

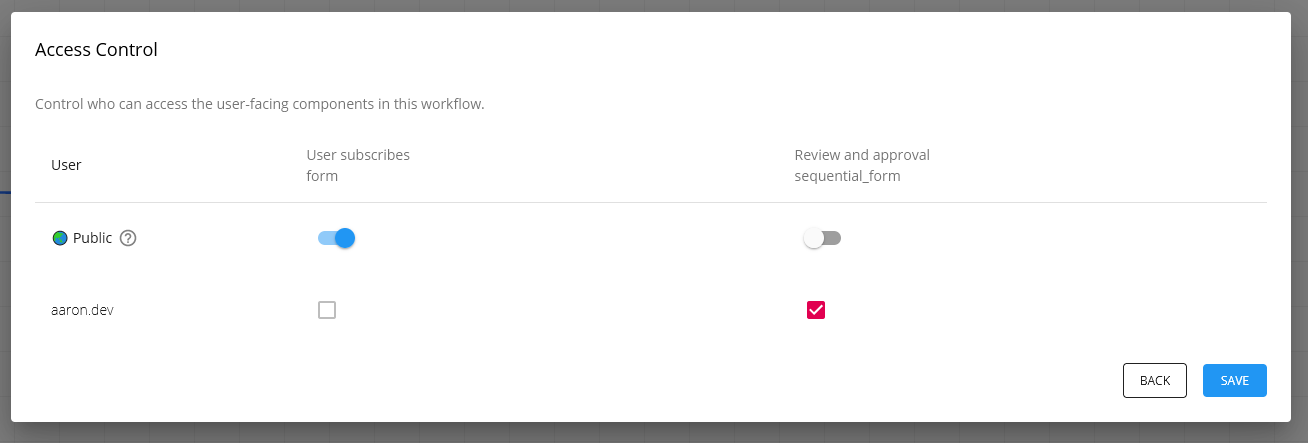
The access control settings for your workflow should look this: the Form is open to the public so anyone can view and submit from it, but the Sequential Form is restricted to a user in your organization"
