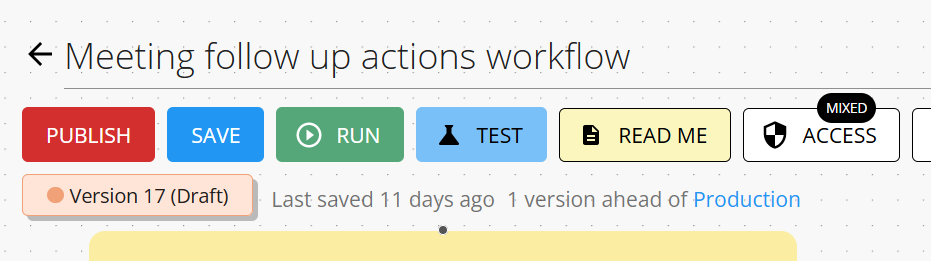
Running a workflow
Switching to the Production canvas
When you are building a workflow, you are on what is known as the Draft canvas. To run a workflow, you will need to have published at least one version of the workflow into production, and then click the Run button. This will re-direct you to the Production canvas. If a version of the workflow has not yet been deployed to production, you will be asked to publish the workflow first.
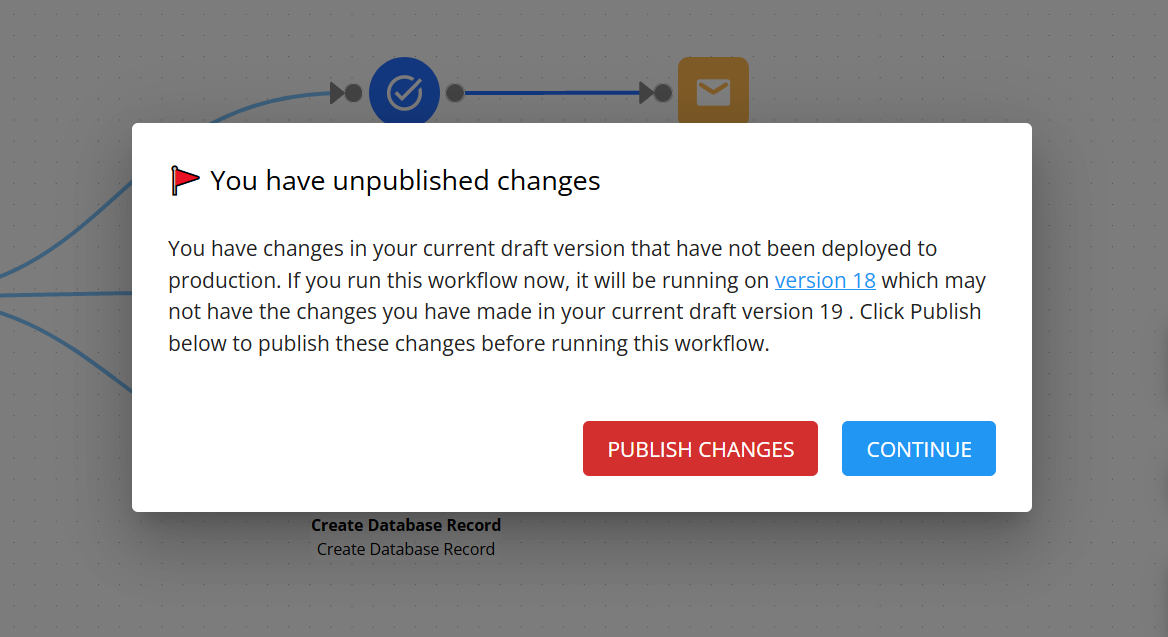
If you have already deployed a workflow into production, there will be an automatic check to see if you have made any changes to the draft that are not present in the current production version. If changes are detected, you will be asked if you want to publish these changes into production before running the workflow. You can either publish these changes to sync your draft with production, or click continue to skip this if your draft is not yet ready to be published.
The Production canvas
The production canvas will display the current version of the workflow that has been deployed to production.
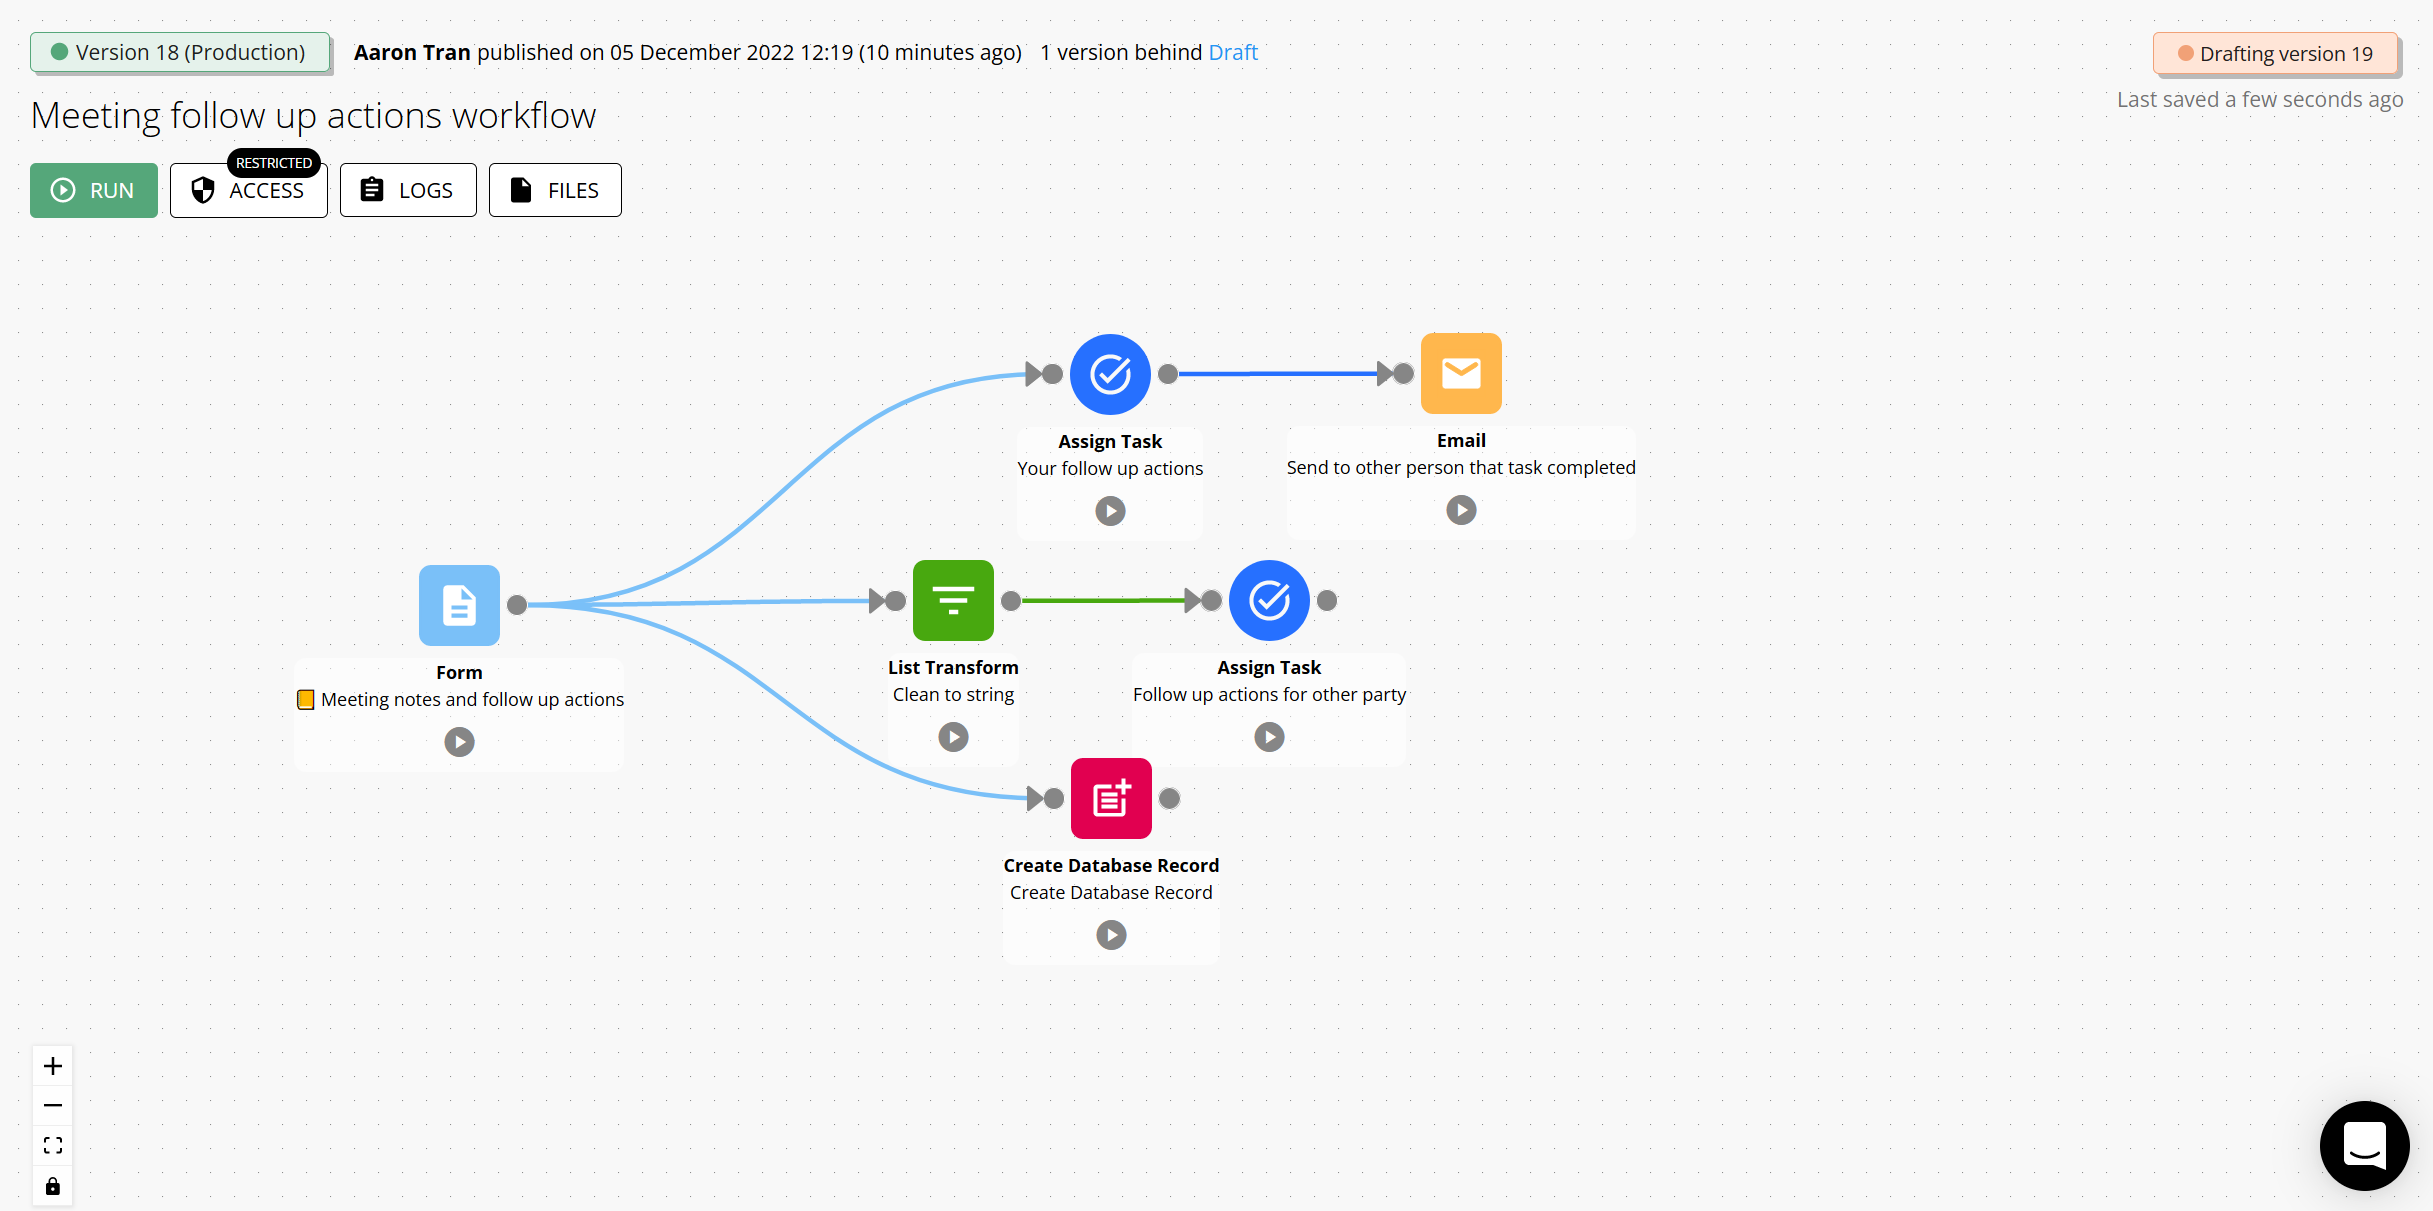
Under each component, you will find a Run button. Click this button to start the workflow from that component:
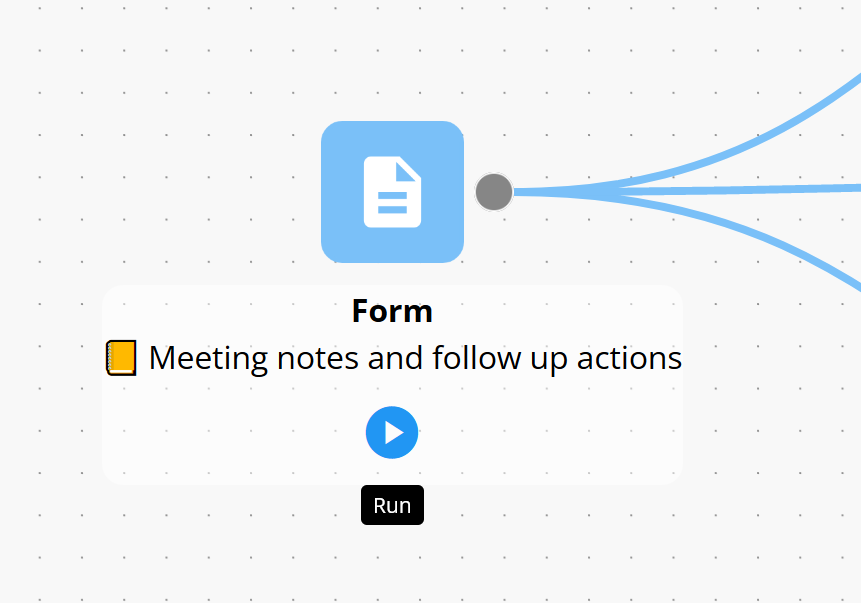
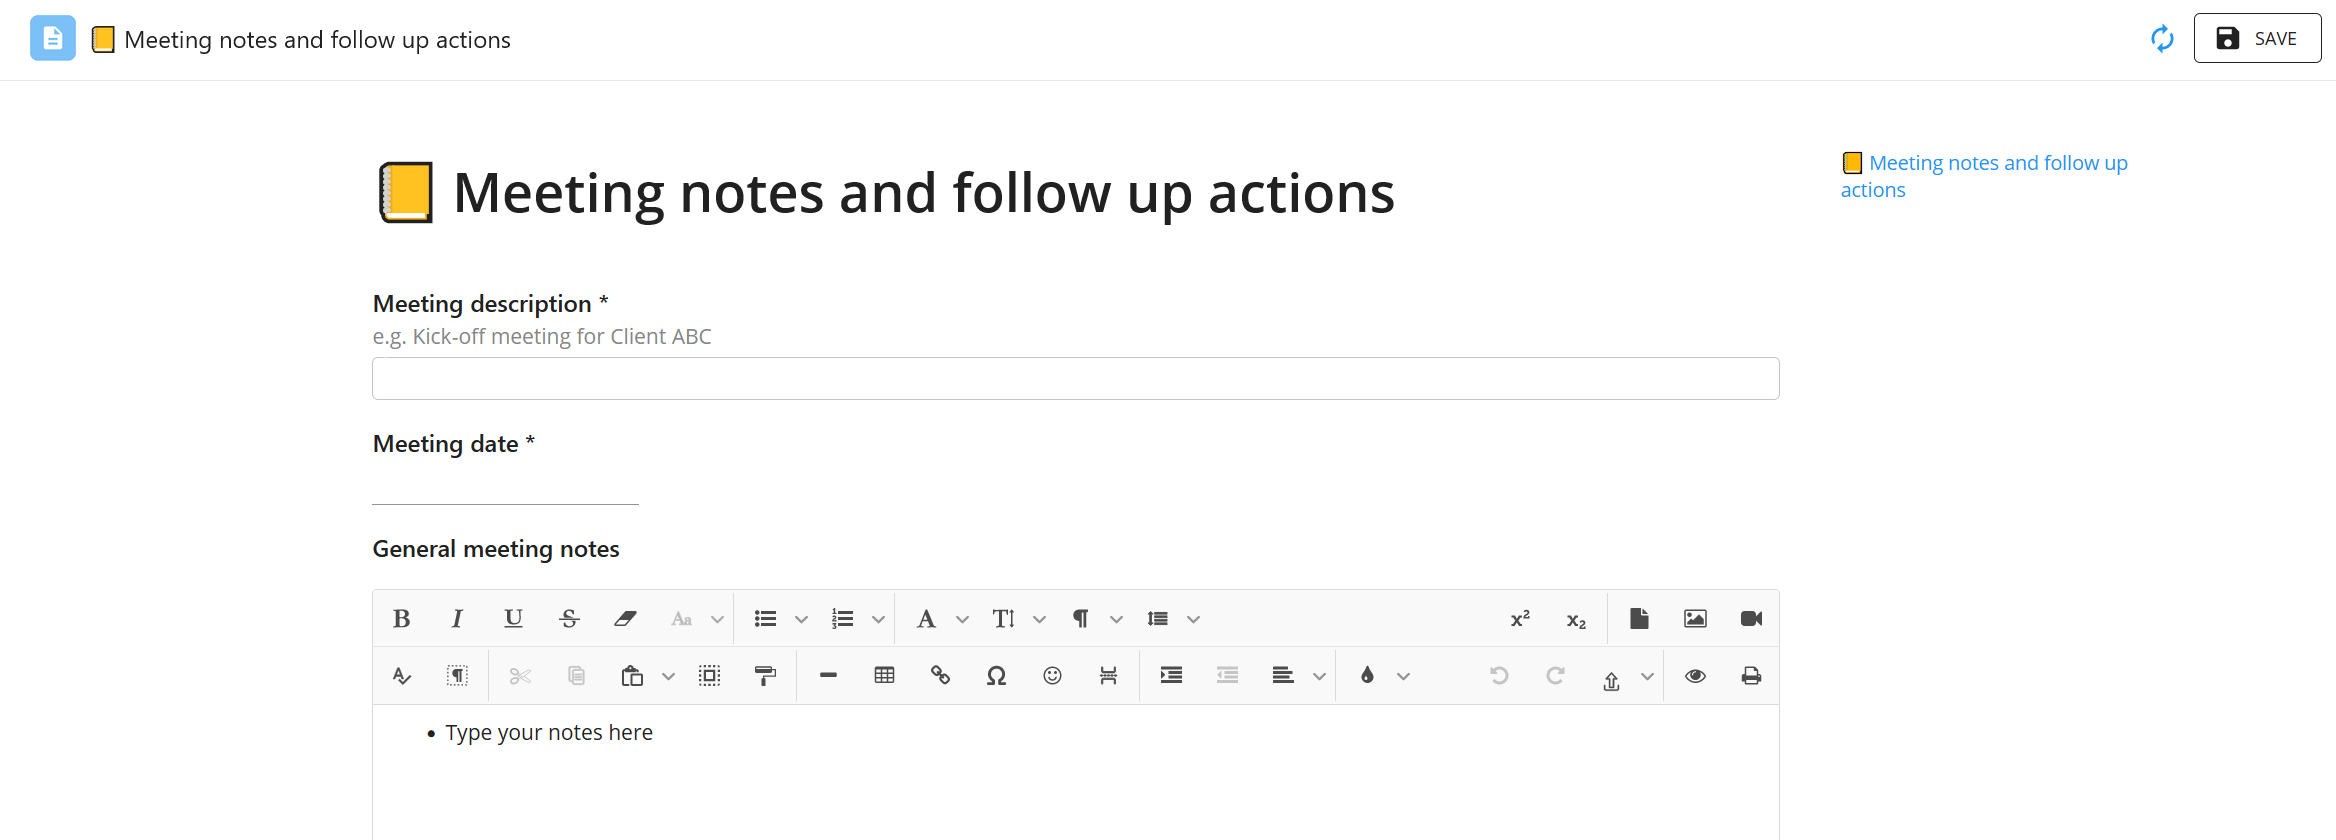
In the case of a form, it will open the form that triggers the workflow in a new tab:
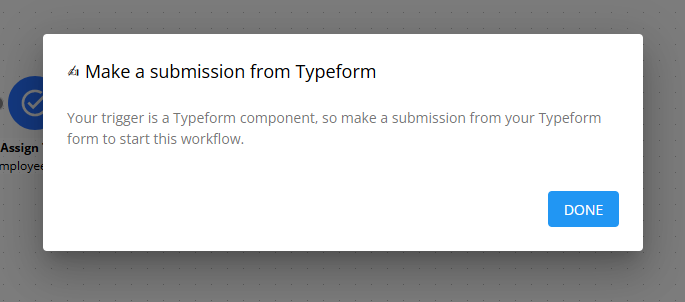
Other triggers will require an action from an external source to start the workflow. For example, the Trigger from Zapier component will require you to run the associated zap from Zapier. Similarly, the Typeform component will require you to make a submission from Typeform. A popup will appear informing you of this if you click start.
Starting a workflow from a non-trigger
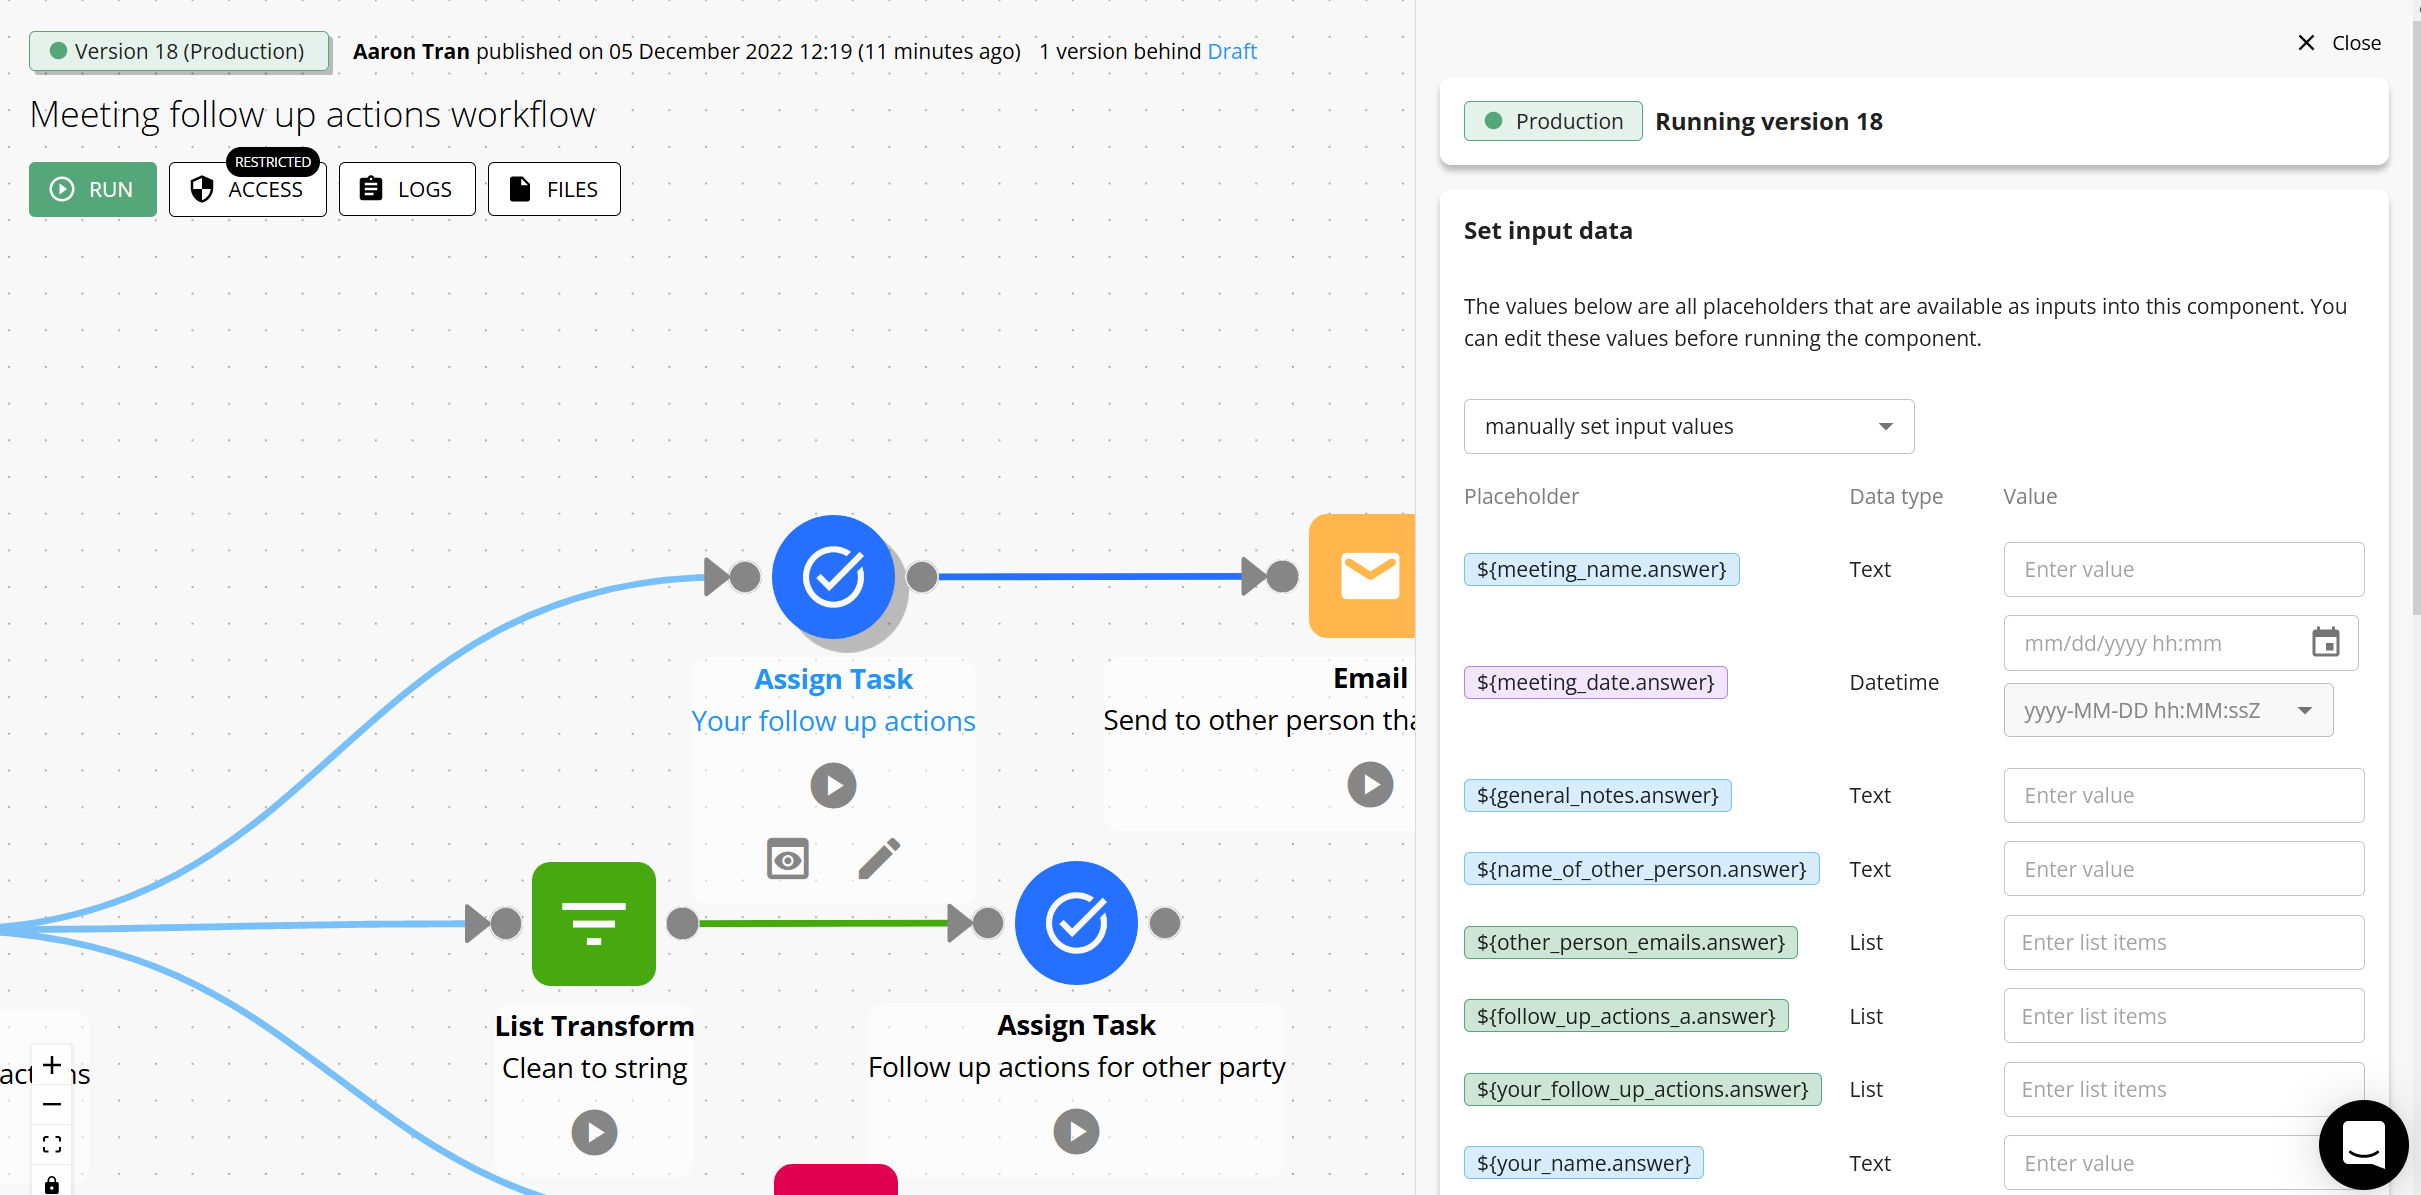
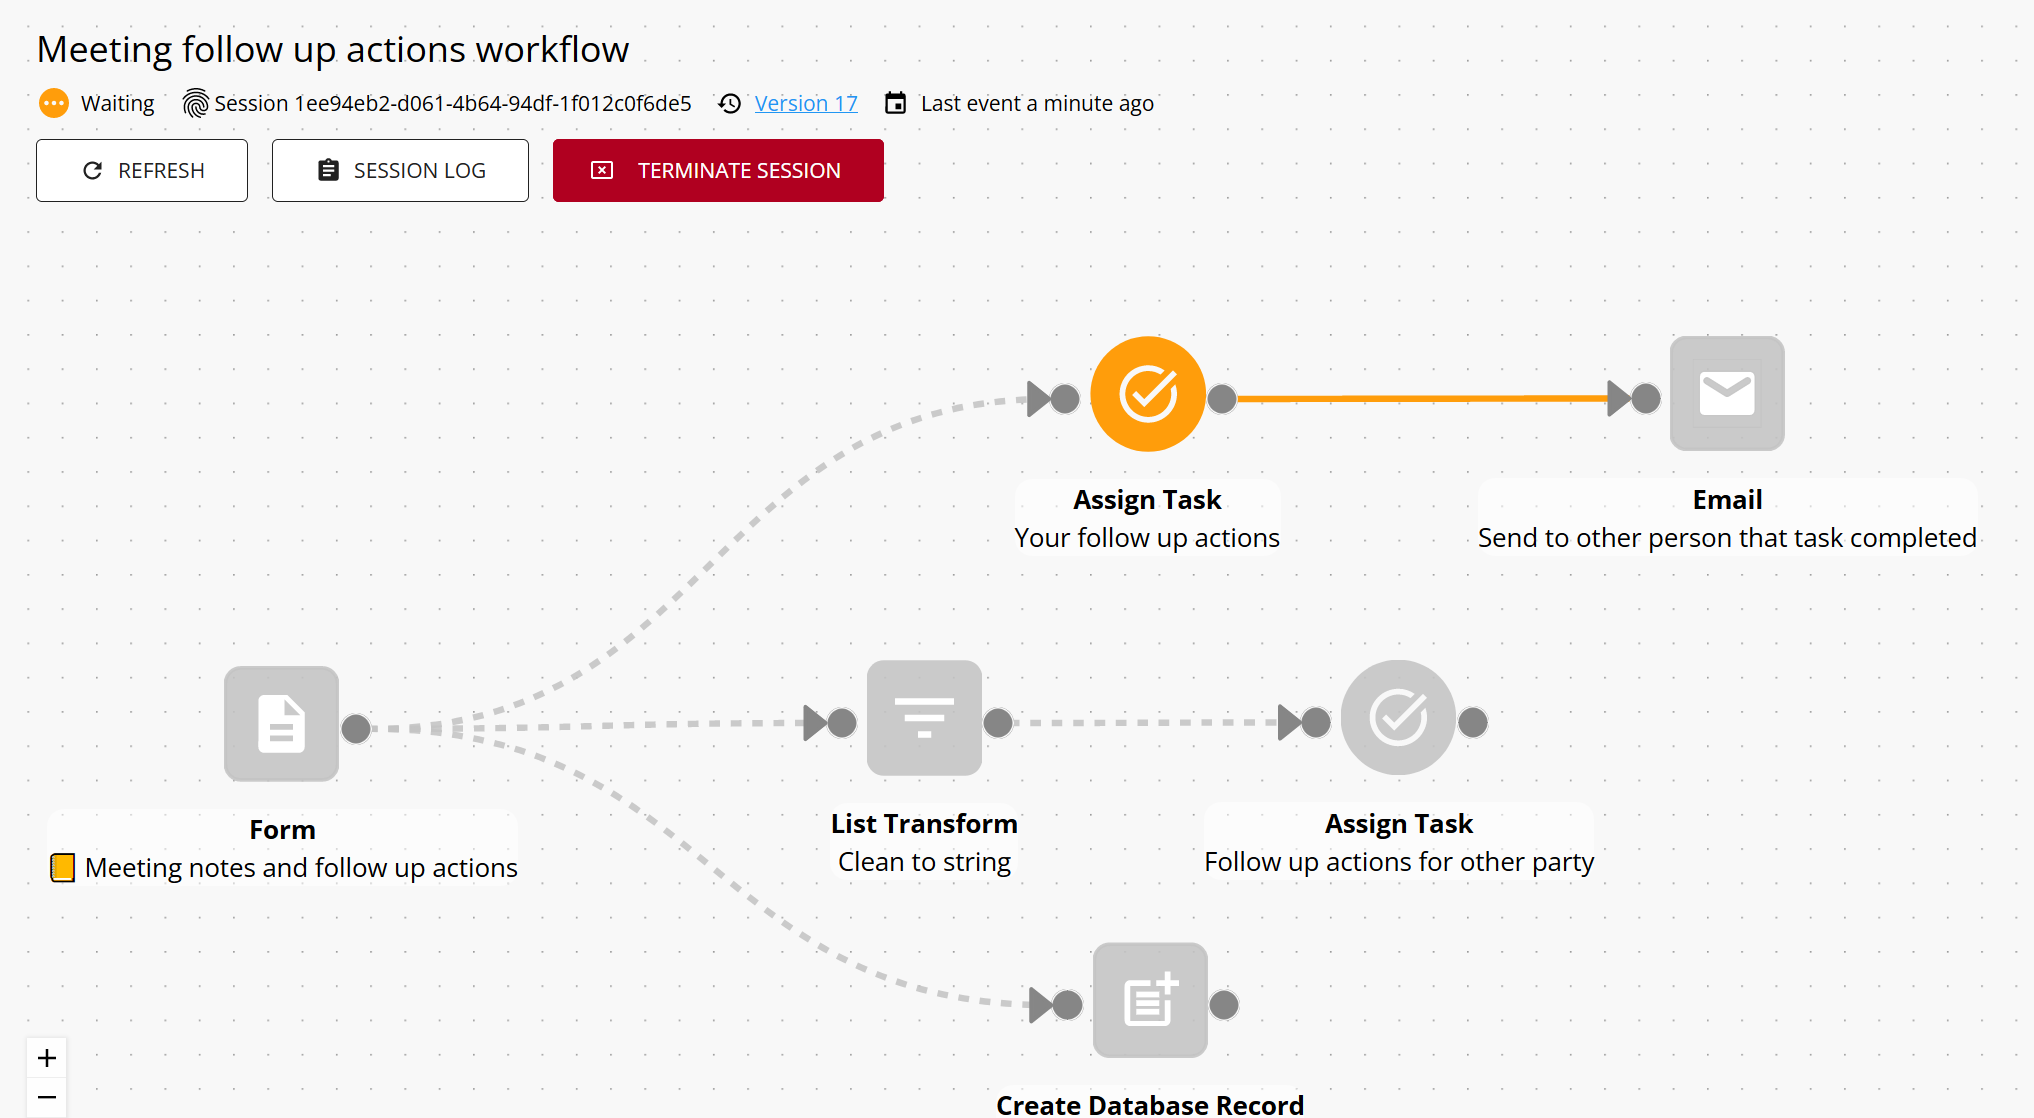
You can start a run of a workflow from any component (and not just a trigger component). For example, the workflow below is triggered by a form, but we can force it to start from any subsequent component such as one of the Assign Task components.

When starting a workflow from a non-trigger component, a panel will open on the right where we will need to input the values that will be used by the component.
Manually setting the input values
In this case, because we are starting the workflow from the Assign Task, we will need to manually set the values that would have been obtained from the previous components (in this case, the form).
Importing the input values from a previous session
Migrate workflow session data to the latest production version
This feature can be used to migrate workflow sessions from a previous or older version to the current production version. For example, you have run the workflow and a session was started using version 1 of the workflow. You now want to run this workflow in version 2 but use all the data that is already there in this existing session.
You can achieve this by using this feature to import the data from the session running on version 1, and then run it on version 2. All the placeholder values that were set in version 1 will be imported and used to run the workflow in version 2 - effectively "migrating" that session into version 2.
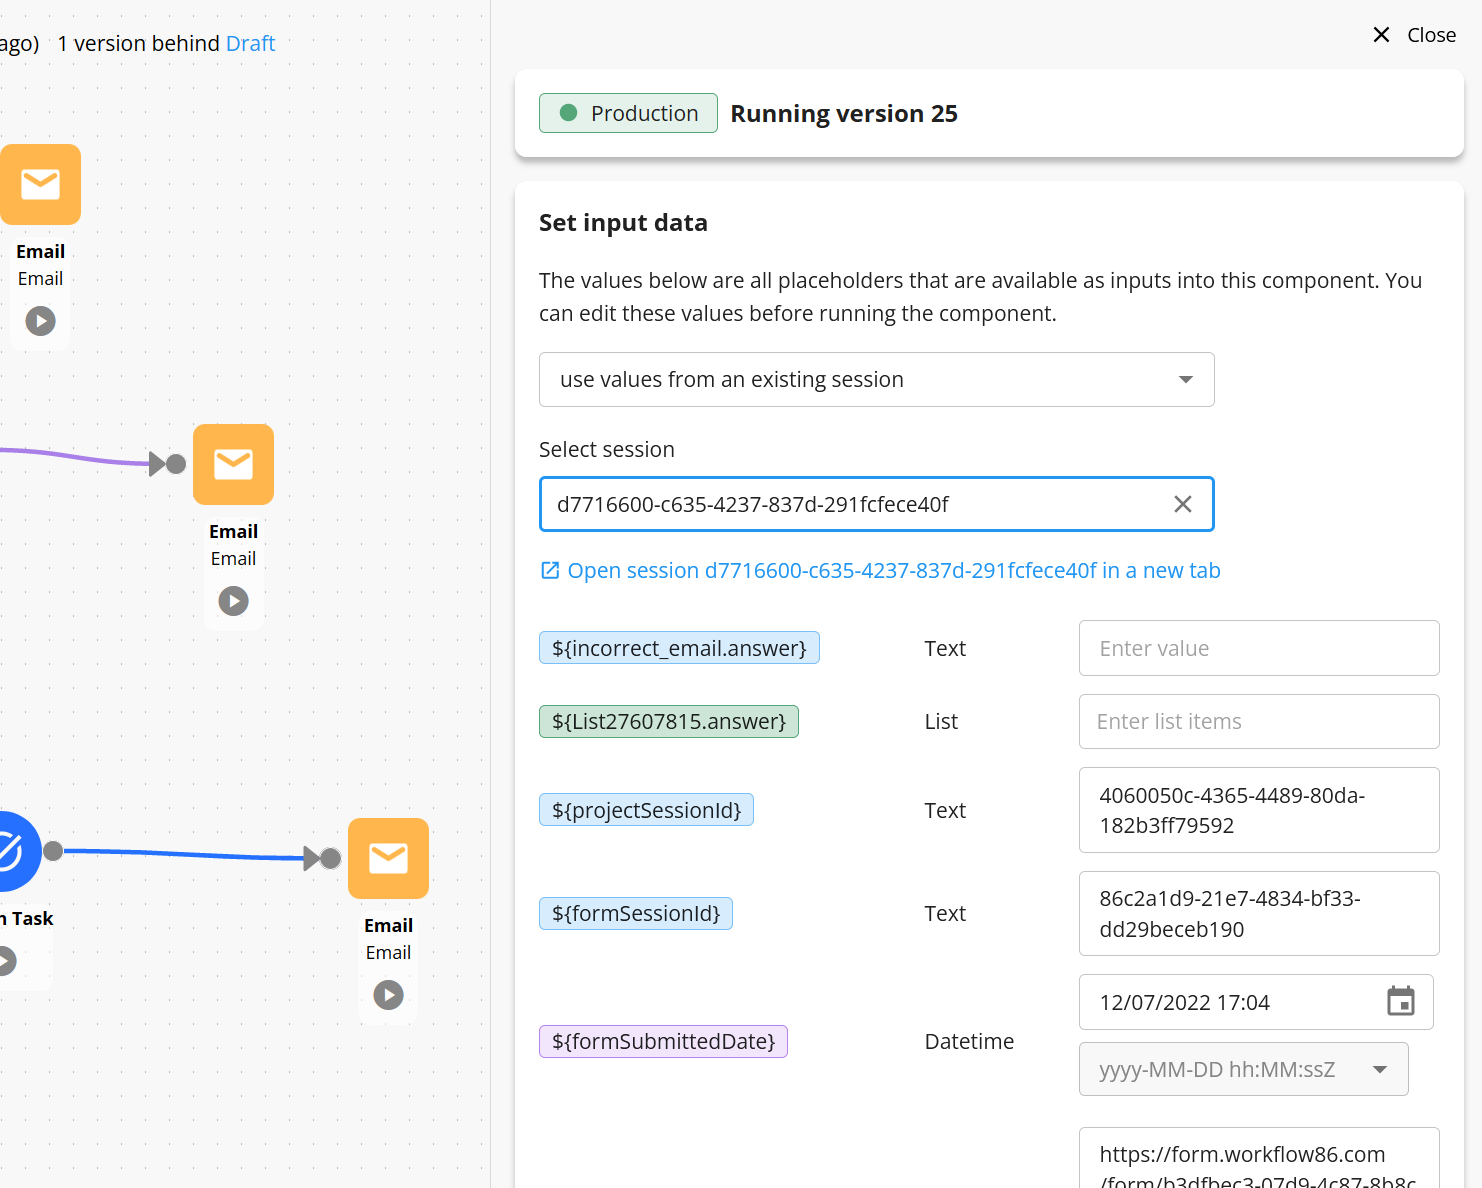
It is also possible to set the input values from a previous session run of the workflow. Select the session from the dropdown and all of the input/placeholder data from that session will then be set as the values for this run:
Starting the workflow
Once the inputs have been specified, we can then click run to force the workflow to run from this component:
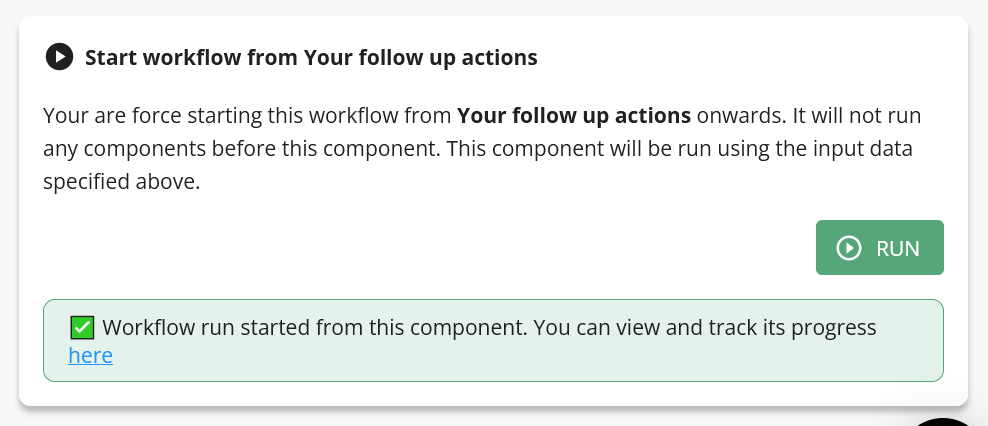
We can then track the session via the progress view. You can see that this workflow has been started from the Assign Task, and none of the other components have been run because we hav started it from this specific component and part of the workflow:
Running the draft version of a workflow (testing)
Clicking the Run button will redirect you to the Production version of the workflow. To run the Draft version of the workflow, see here on 👉Testing a workflow