Assign Task
| Component | Type | Description | |
|---|---|---|---|
 | Assign Task | 🔀 action | Create and assign a manual task to be completed by a user |
The Assign Task component allows you to insert steps that require human input into your workflow. When a workflow reaches an Assign Task component, it assigns a task and a URL to that task for the specified users to complete.
What is a task?
A task is something that needs to be done by someone. In Workflow86, it represents a step or operation in a workflow that requires manual input. This might be to enter in some information, complete a checklist, review some data, upload a document and so on. When a workflow reaches an Assign Task step, it will create a task and then pause that part of the workflow until the task is completed.
Inside of the component, you can design a custom task using the same building blocks as the form component. This task can contain content and fields for the user to fill out or complete as part of the task. When the user clicks submit on the task, the task is marked as completed and the workflow proceeds to the next step.
For example, take a workflow that manages a recruitment process for a role. Throughout this process, there will be steps and stages where someone will need to review some information about the candidate and make a decision (e.g. proceed or not proceed to an interview).The Assign Task component can be used to facilitate these manual or human decision points.

Task inbox
All tasks that are created across your workflows are compiled together in the Task Inbox page. Think of this as your Workflow86 inbox where all tasks which require your attention or action across all your different workflows are collected together for you to view, review and complete.
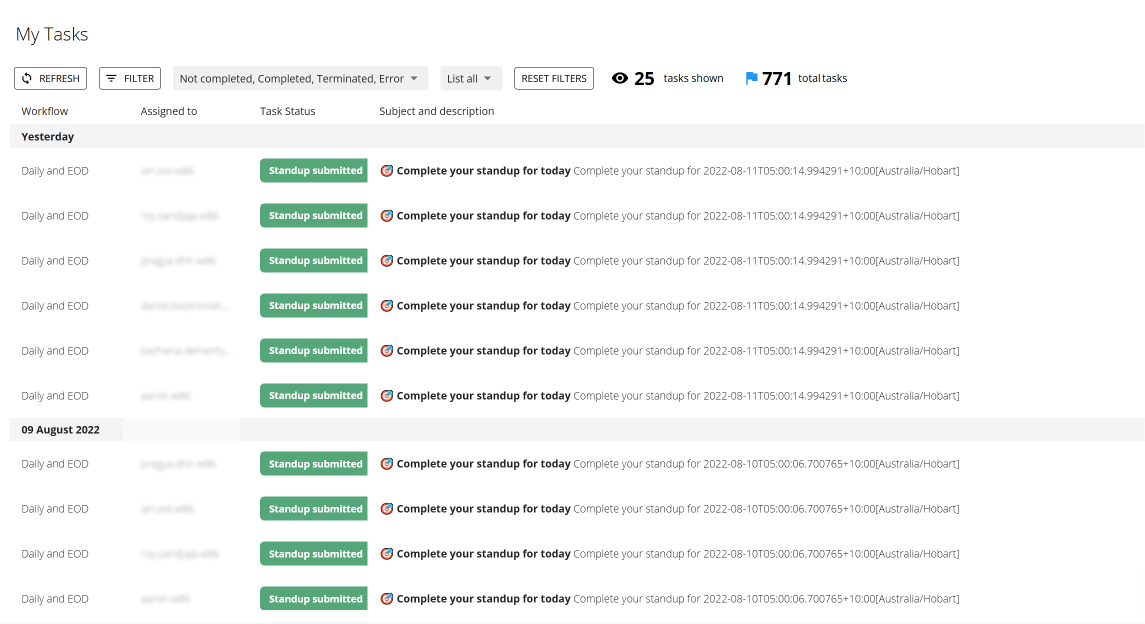
Learn more about the Task Inbox page 👉 here
Configuring a task
A task comprises of task details such as the notification method, task description, reminder emails etc and the task form.
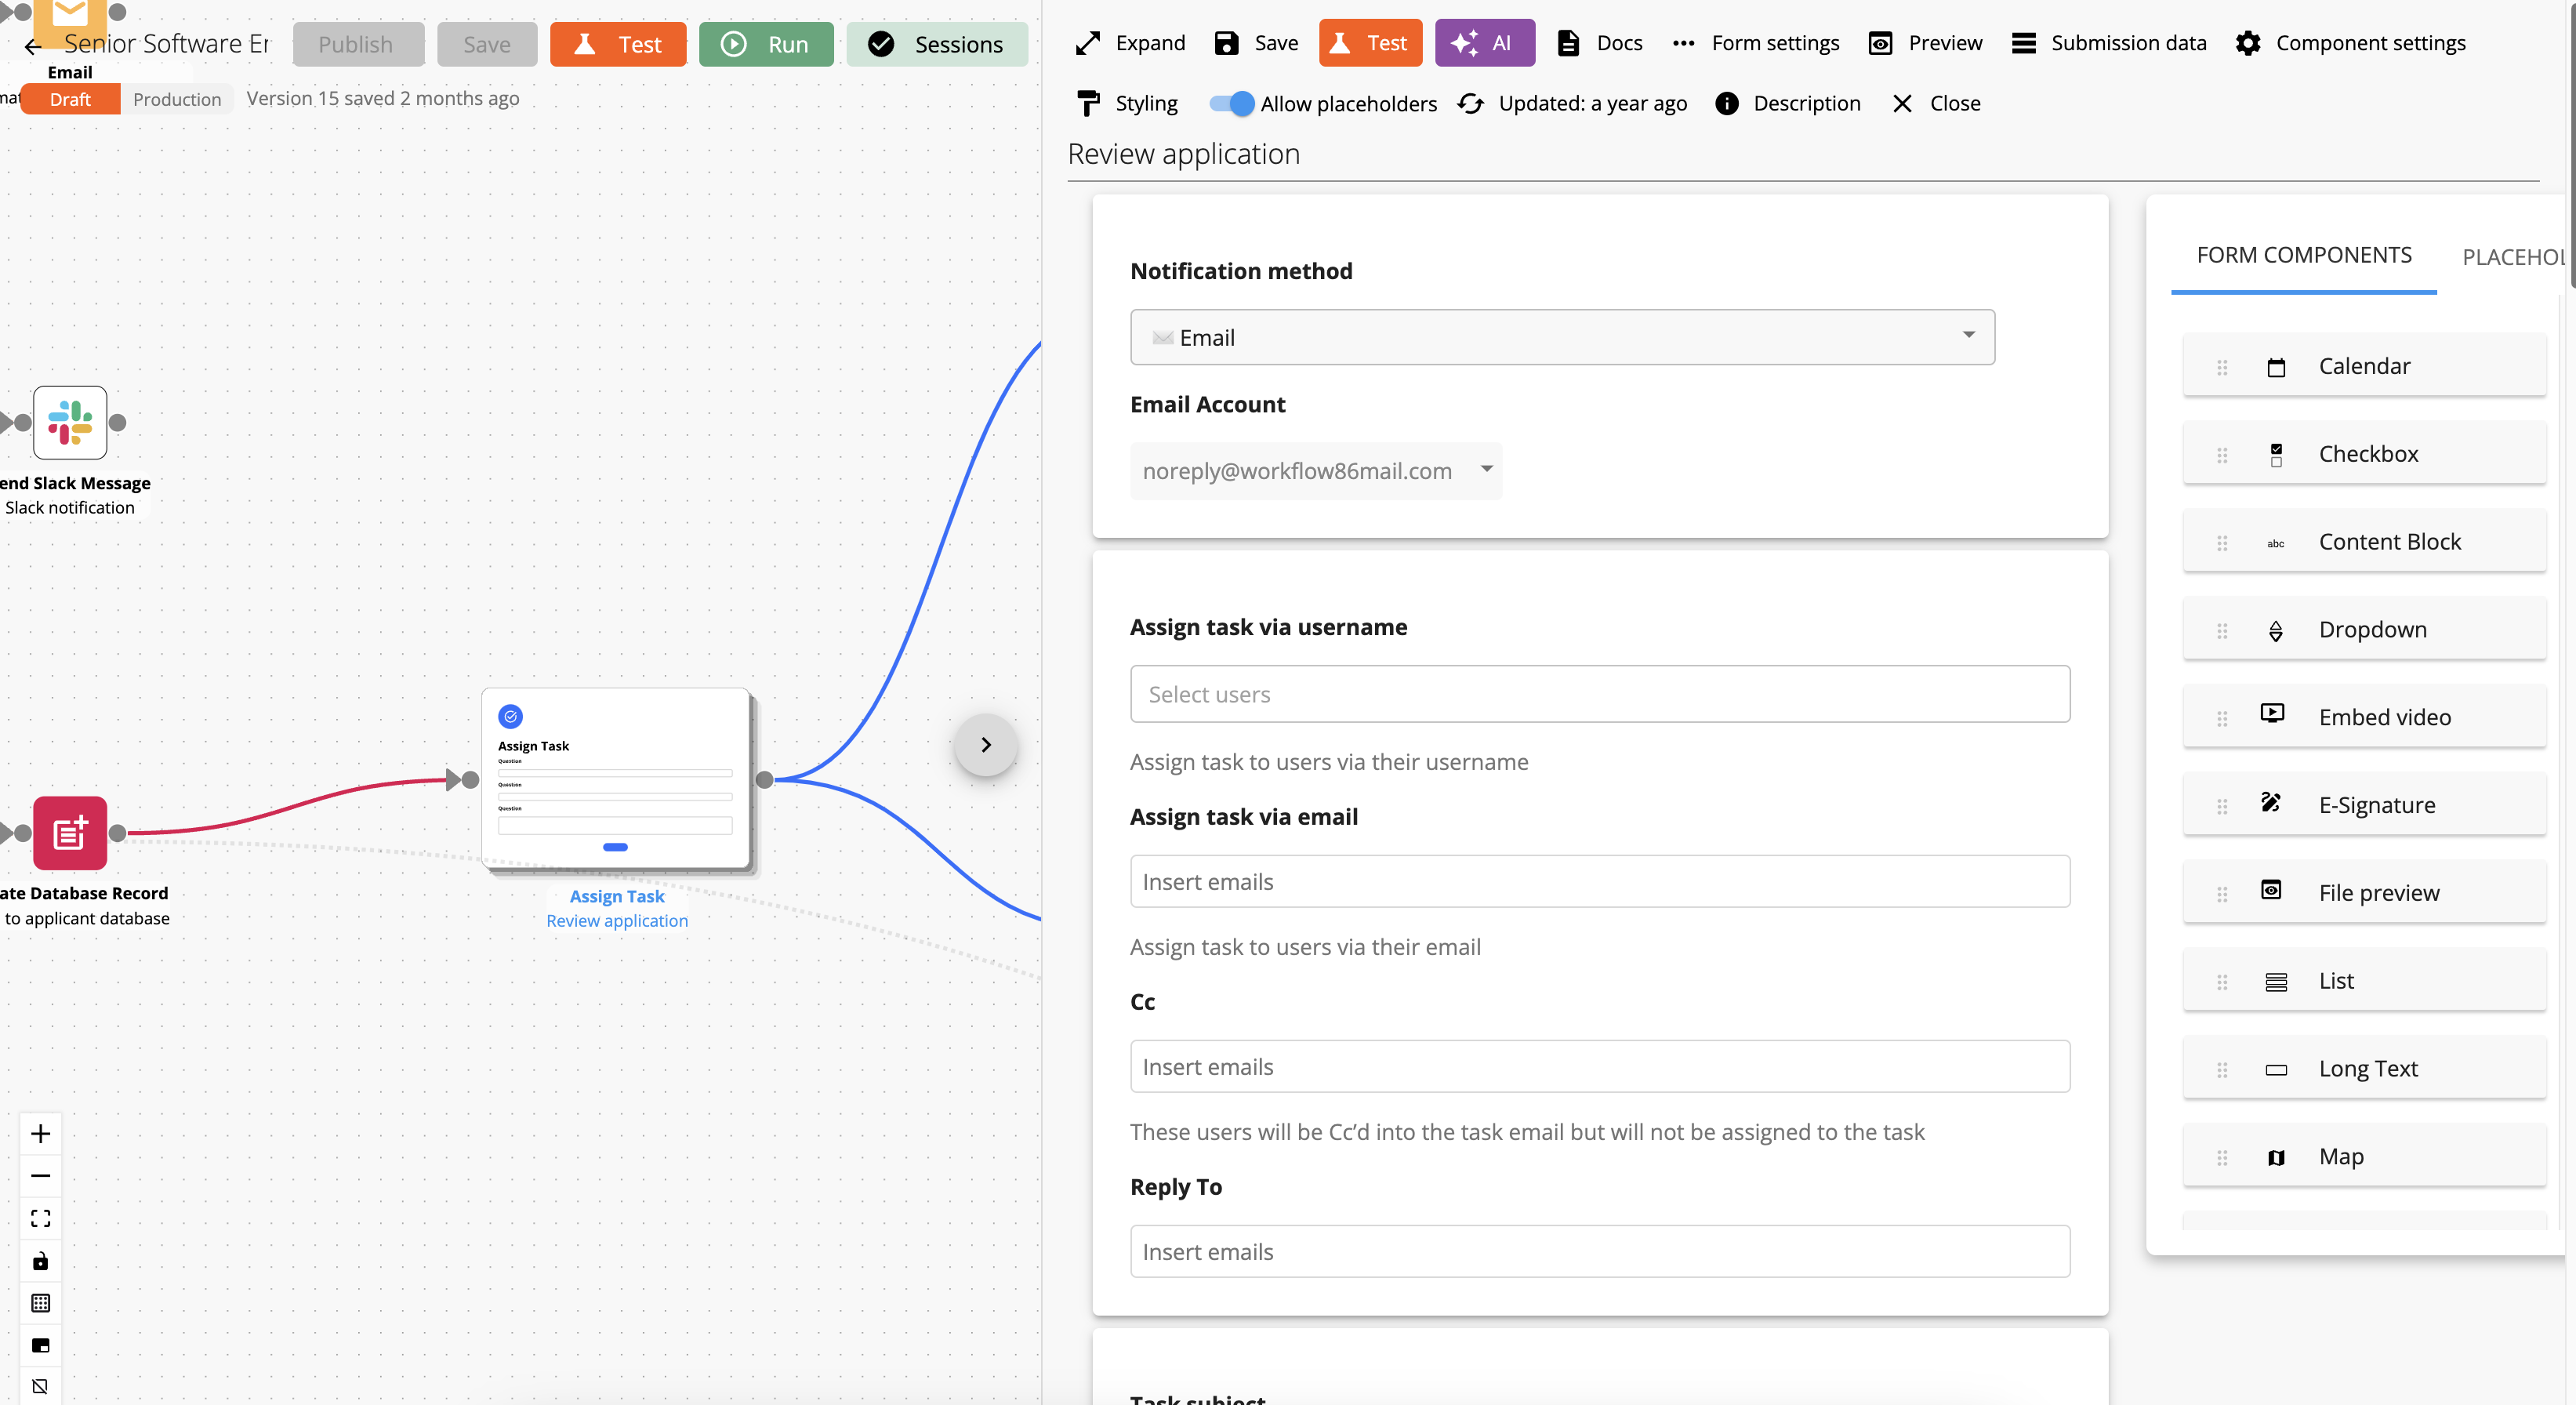
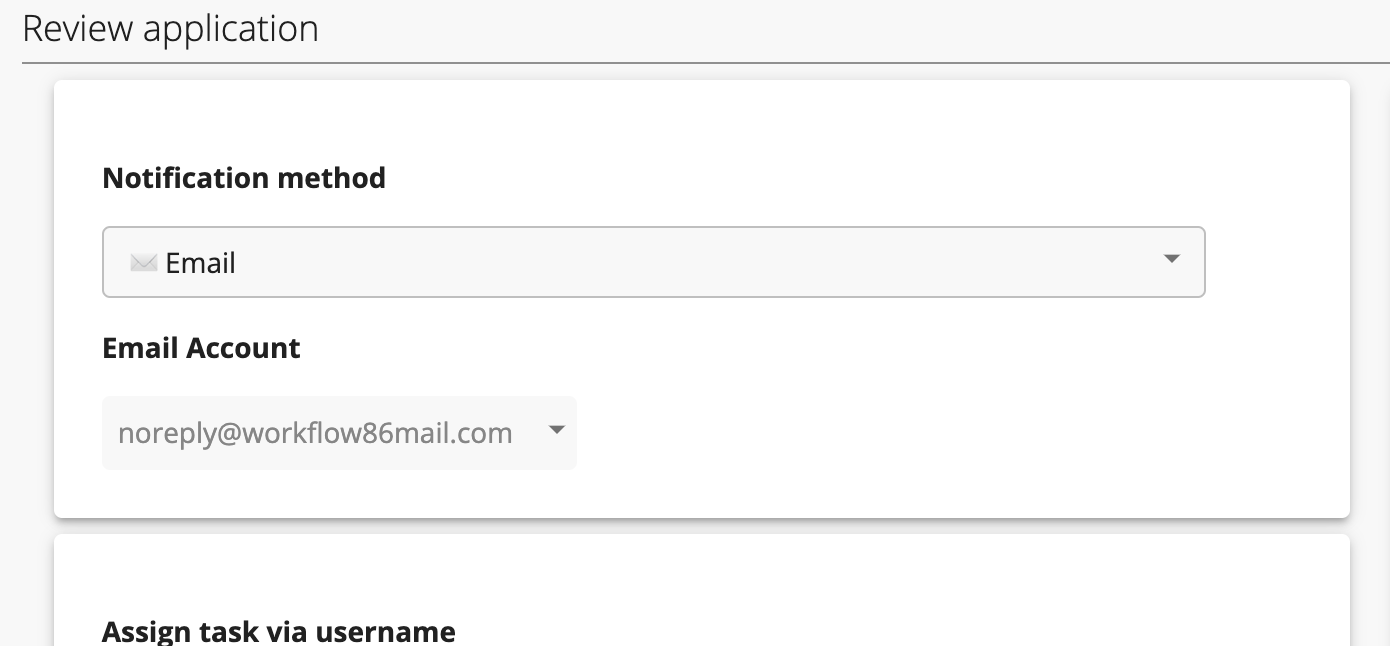
Notification method
The notification method sets how users are notified when a task is created.
Notify via email
When a task is created, users will receive an email that a task has been assigned to them, as well as have the task sent to their My Tasks page/inbox.
This mode also allows you to send tasks to external users who do not have a Workflow86 account under your organization.
Set notification email sender
By default, notification emails for tasks are sent from noreply@workflow86mail.com. You can set it to be sent from a custom email address by setting up a SMTP credential.
Notify via task inbox
If this mode is selected, the task is sent to a user's task inbox inside of Workflow86 only and no email is sent.
This mode only allows you to assign tasks to users with a Workflow86 account.
Assigning the task
Depending on the notification mode mentioned above, tasks can be assigned to users inside of your account, sent via email to external users without a Workflow86 account, or a combination of both. A task can also have no assigned users, in which case a record of that task will only be created in the My Tasks page.
What happens when a task is assigned?
When a task is assigned to a user, that task will be created and recorded in their My Tasks page. They will also get an email with the task subject and task description, and a link to the task page.
When a task is assigned to an external user (via their email), they will receive an email with the task subject and task description, and a link to the task page. A record of that task will be created and appear in the My Tasks page of any Administrator and Editor users in your account.
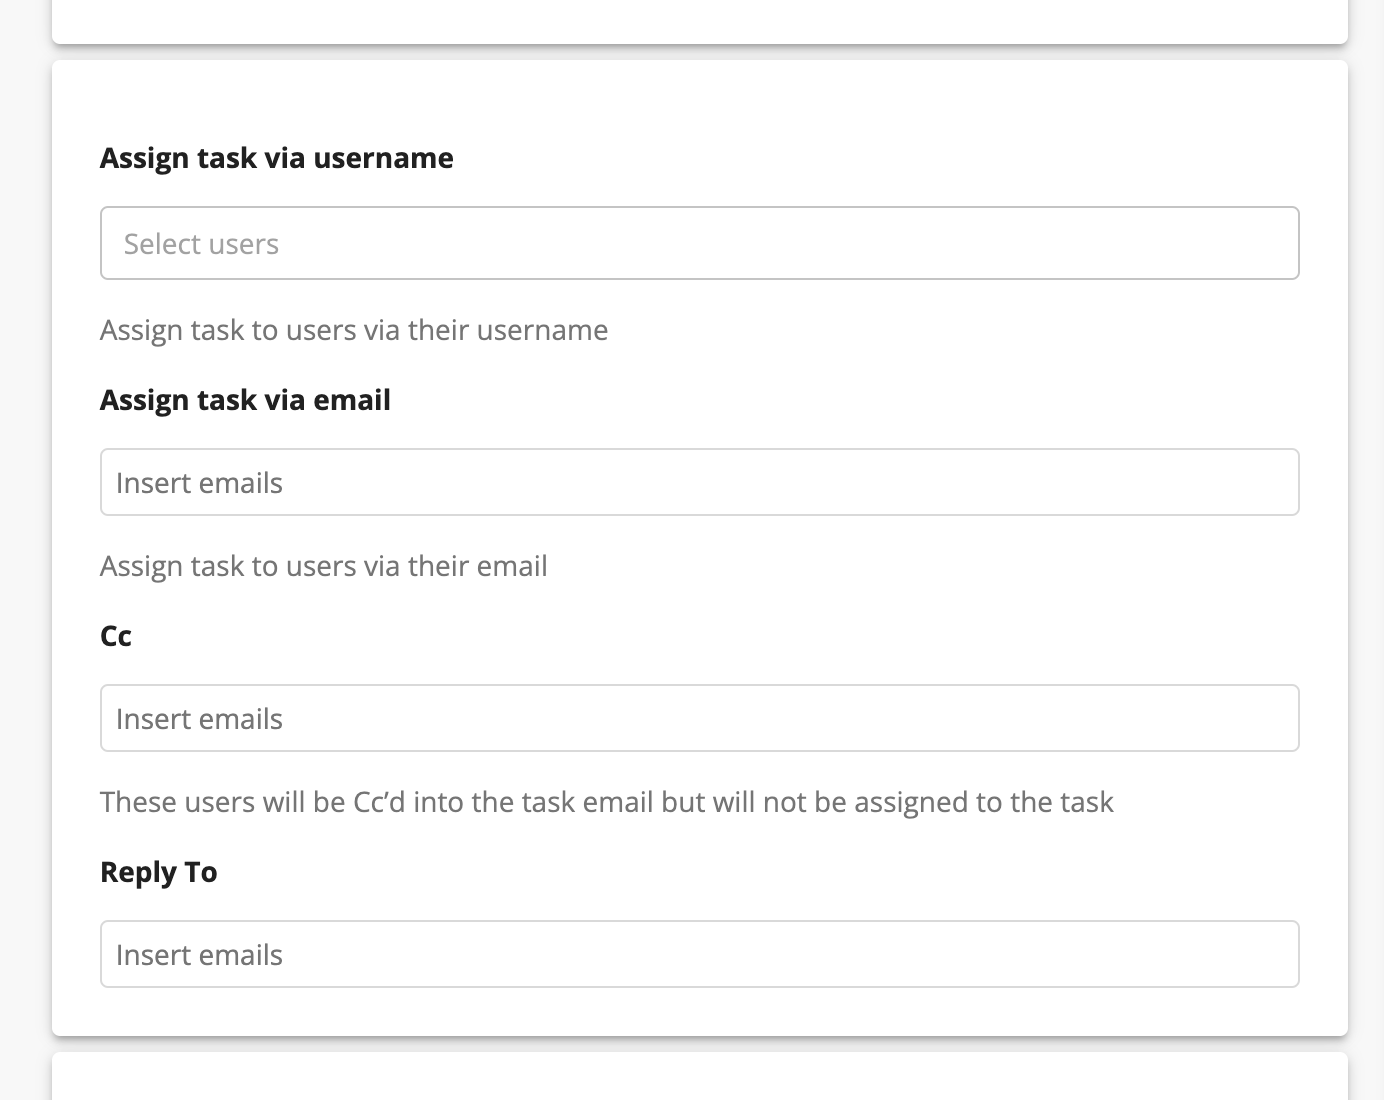
Assign to users
To assign tasks to users in your account, click on the field and select the users. You can also assign tasks to users via a placeholder if the placeholder is a username.

Assign to external users via email
You can also assign a task to an external user (someone outside of your account or who does not have a Workflow86 account) by specifying their email address.

Cc'ing others into task emails
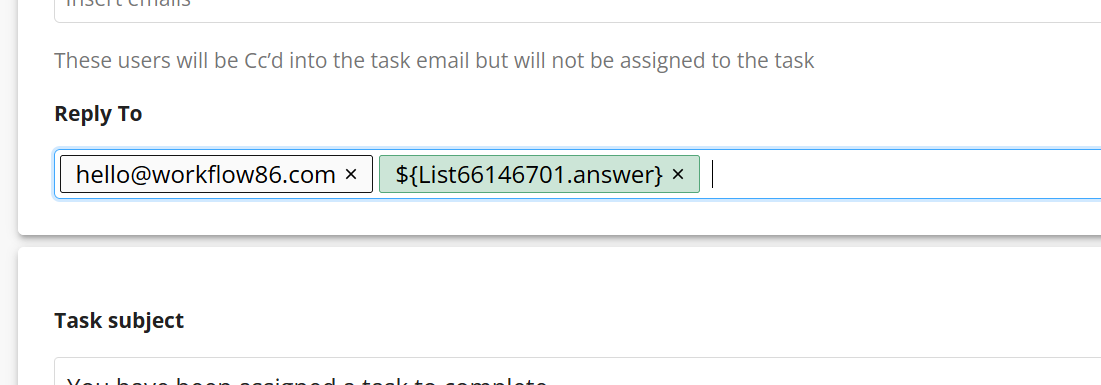
You can Cc others into the task emails that get sent. A Cc does not assign the task to that user or email, it will only include them as a Cc into the email message itself. You can also Cc emails into the reminder emails as well.

Setting a reply-to email
You can set a reply email for any task emails or task reminders via the reply-to field. To set a reply-to email, either manually type in an email or set it via a placeholder:
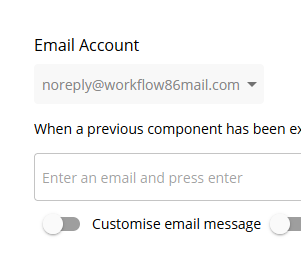
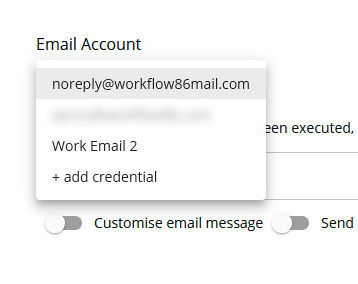
Selecting a custom email address to send messages
By default, emails from the Assign Task component are sent from the noreply@workflow86mail.com address. You can send emails from your own email address by adding an email (SMTP) credential to the Credential Store. Read about how to do this here
Once the email credentials have been added to the Credential Store, you can select it from the dropdown menu inside of the Email component. This will then send emails using the selected email address.
The Credential Store is a premium feature and is currently only available to users on paid plans.
Setting the task details
Task title and description
The task subject line or title is set here:

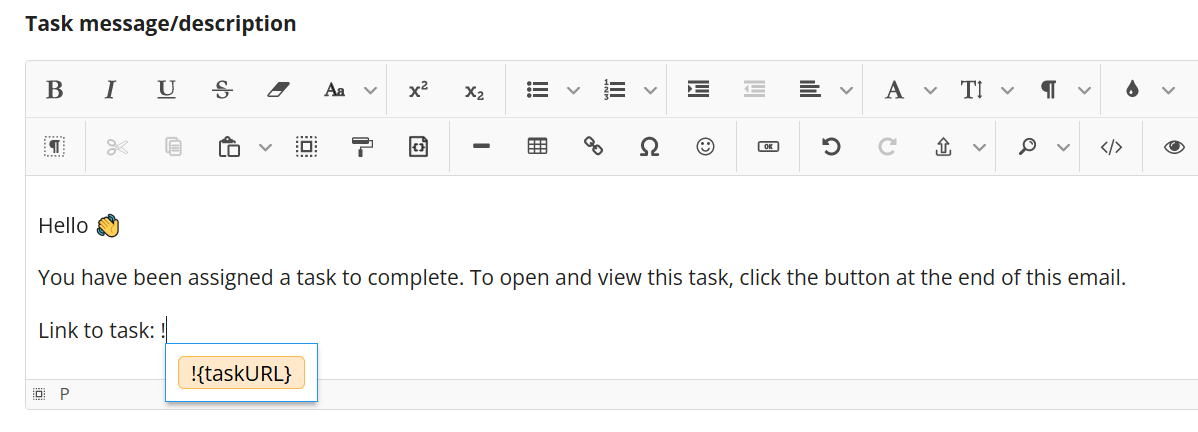
The description of a task is set here. You can use placeholders from other parts of the workflow inside of this description.
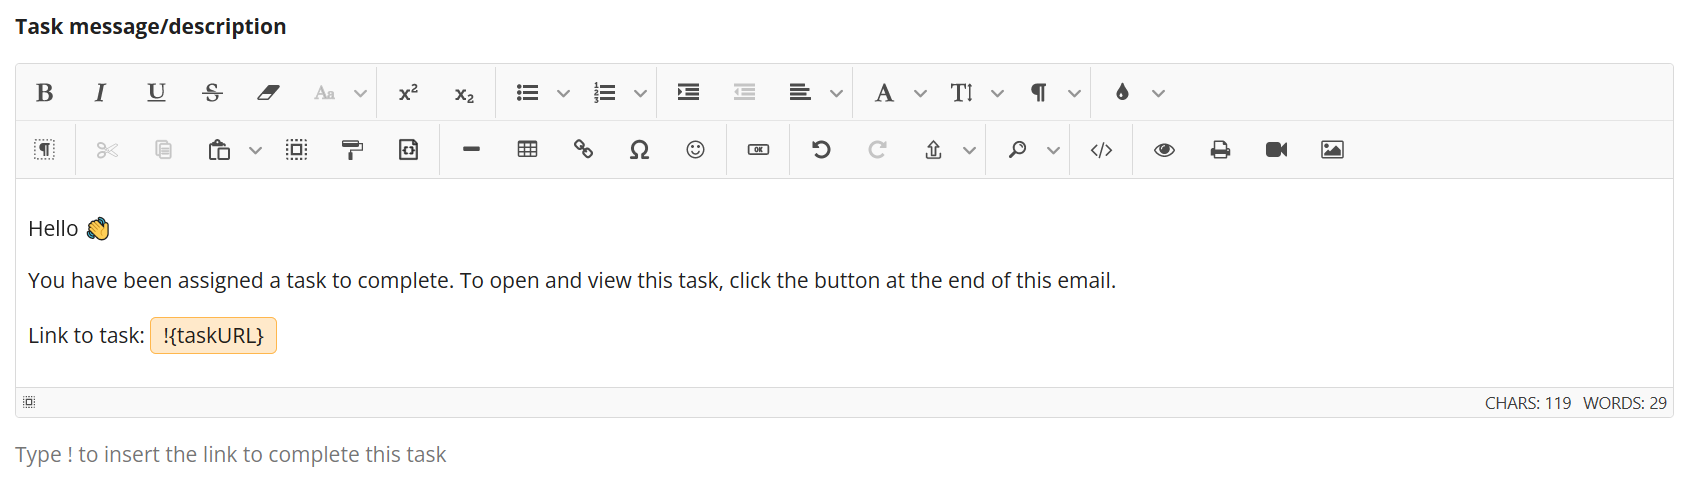
You can insert the link to the task by typing in "!" to insert the !{taskURL} placeholder. When the task is created, the link to that task will be inserted at the !{taskURL} placeholder.
Customizing the task status
Every task has two statuses: a status for when it has not been completed, and a status for when it has been completed. By default, the statuses are set to "To do" and "Done". However, you can customize the labels for these statuses to whatever you want to reflect the task at hand:

Send reminder emails
You can set a reminder email to be sent if the form session has not been submitted after a certain amount of time e.g. send reminder email if the form session has not been submitted within 24 hours. To send a reminder email, turn on the "Send reminder email" buttonThis will open up additional fields at the bottom where you can set the recipient, content and time to send the reminder email.

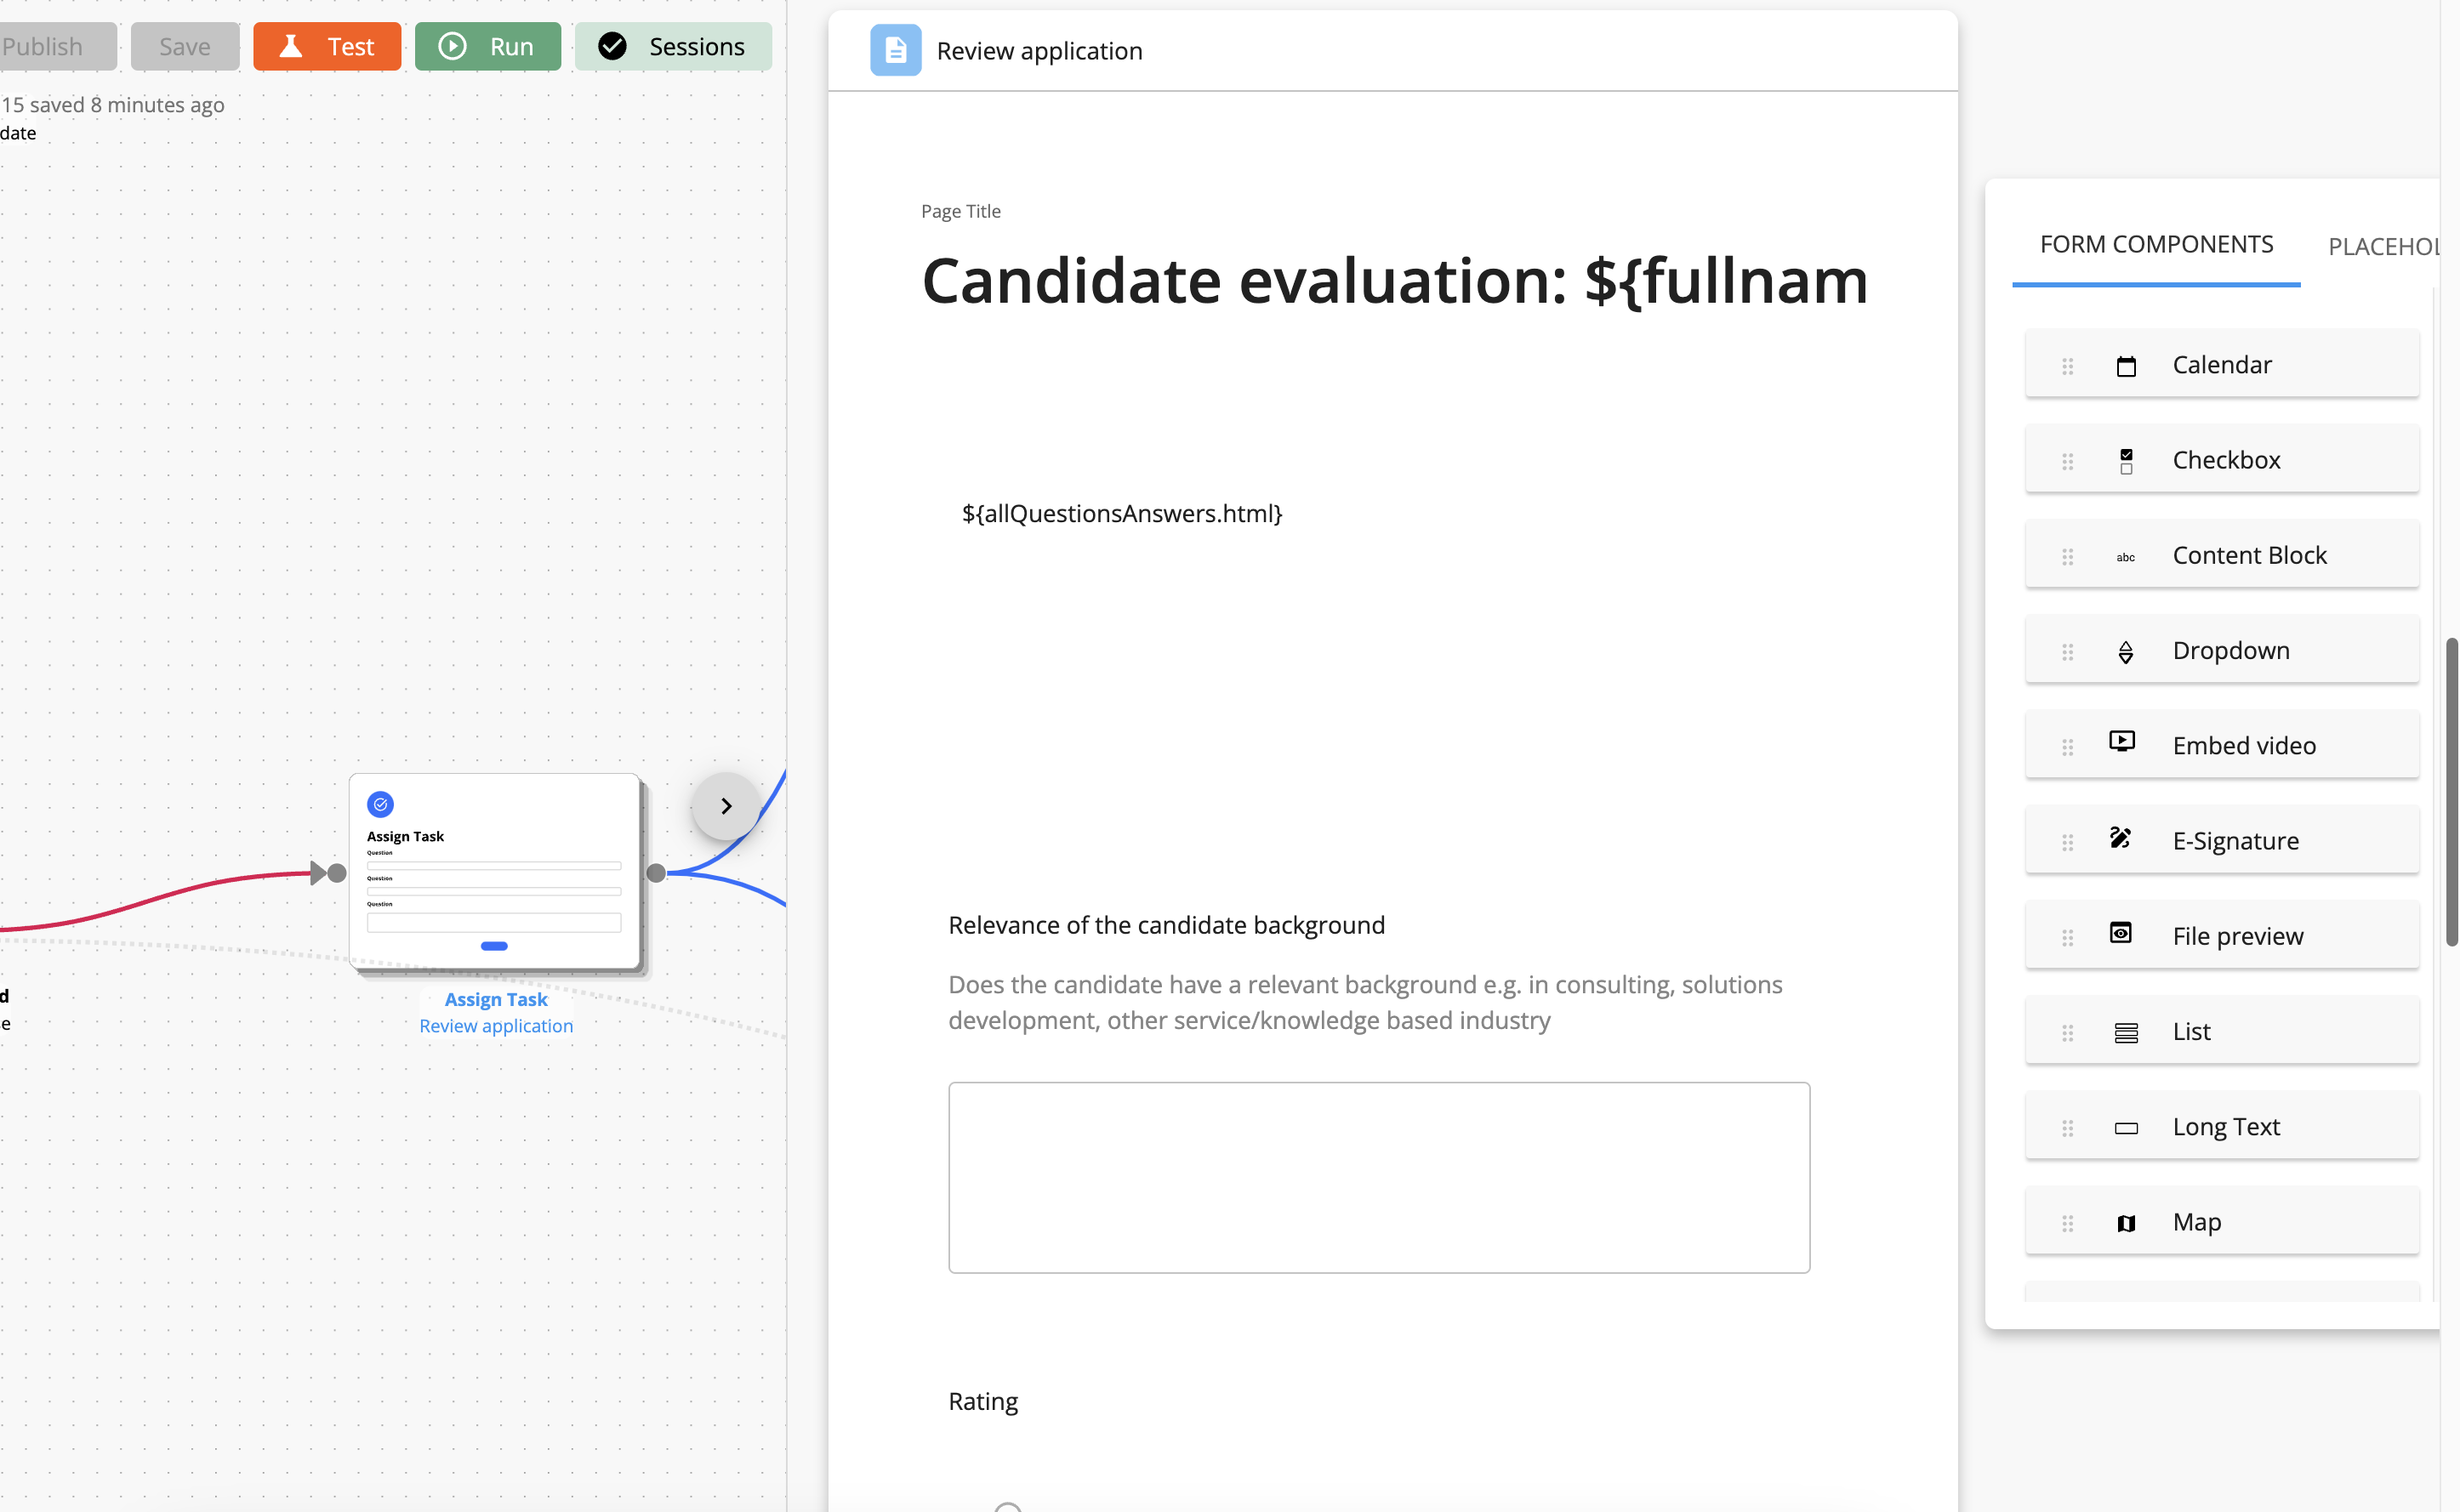
Building the task page
The task page is essentially a form that the user interacts with to complete the task. Building the task page is exactly the same as building pages in the form. Just drag, drop and configure the components on the right hand menu onto the page.
➡ Click here to go to the form builder docs
Using placeholders in the page
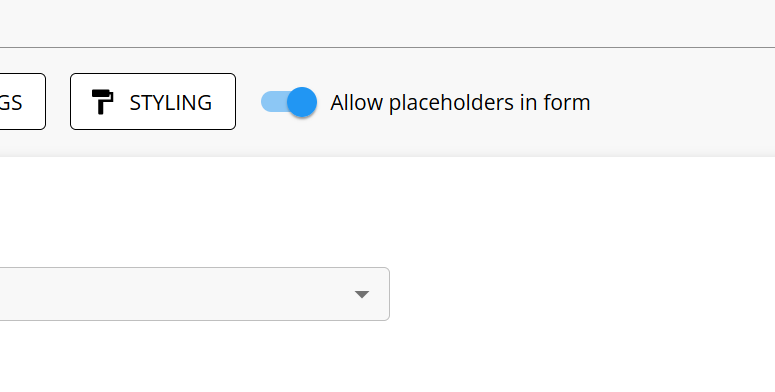
You can insert placeholders into the question text, description and context blocks of the task page. This allows you to use placeholders to dynamically render questions, descriptions or content inside of the task page.
Turn on the option to allow placeholders in the question text via the switch here:
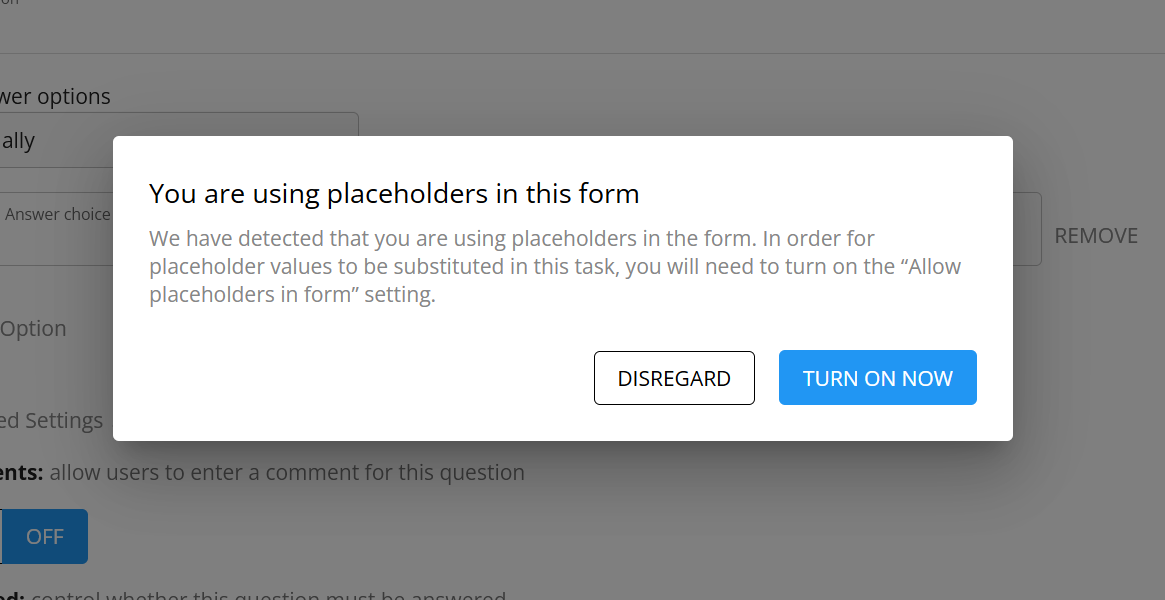
You will also be prompted to turn it on if you have used placeholders in the form, but have not yet turned this switch on:
Once this has been turned on, you can insert placeholders by typing in "$" - this will bring up the placeholder options.
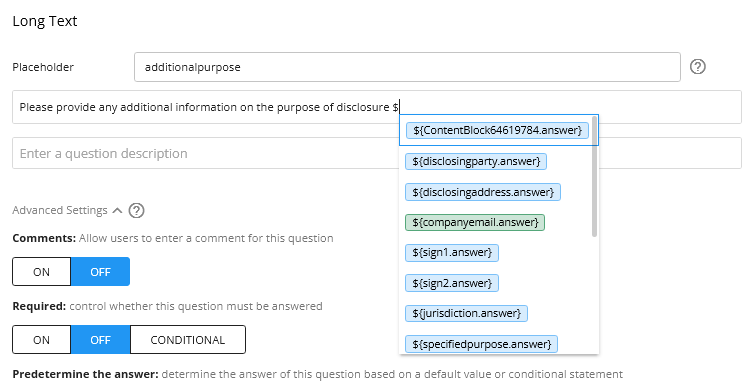
Simply click or select the required placeholder to insert it at the location where you typed the "$":

You can insert placeholders in the question text, question description, anywhere in the content block, as well as inside of the pre-determine answer option:

Make sure that you turn on the option to allow placeholders in the form settings BEFORE using placeholders. If this setting is not turned on, the placeholders will not be replaced with their value when the workflow is run.
This section refers to use of workflow placeholders inside of the Assign Task i.e. placeholders obtained from other components as part of the workflow. To see how you can use placeholders from other questions inside of the same form or task, see the section below.
Internal placeholders
In Forms, Form Sections and Assign Tasks, you can use internal placeholders to reference the answer of one question inside another question inside of the same form.
Read more about this feature 👉 here
Exposing the page metadata
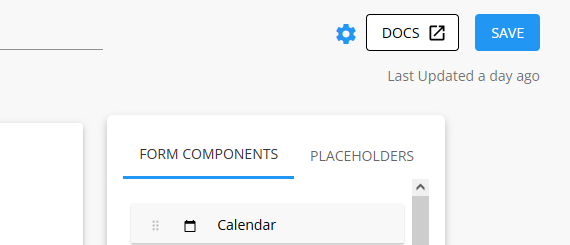
The task page contains metadata (information and data about details like when it was submitted, form session ID etc) that can be exposed by setting a component label. By default, the task page does not have a component label and these metadata placeholders are not exposed. To set a component label, click the settings button in the top right:
A dialog will appear - inside of the textfield, type in a component label. A component label can contain letters, numbers and underscores ("_") only.

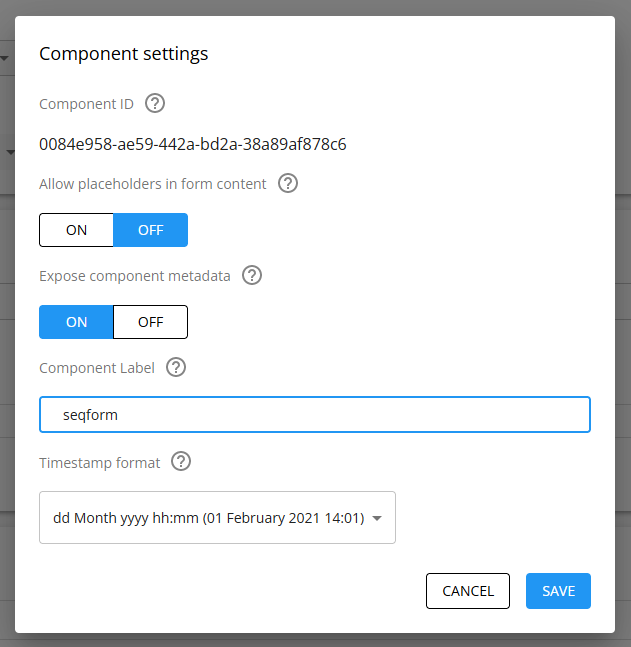
Setting a component placeholder will change all placeholder labels from this component i.e. ${placeholder} will not work, only ${component_label.placeholder} will work.
You will need to go through the workflow and update the old placeholders with the new placeholders containing the component label.
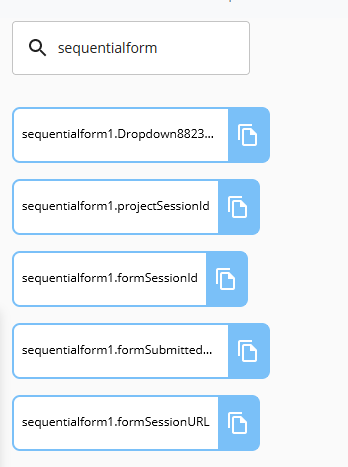
Metadata placeholders will now be exported by the Assign Task component:

projectSessionId is the session ID connected to the sequential form that has been submitted.
formSessionId is the form session ID connected to the sequential form that has been submitted.
formSubmittedDate is a time stamp of the date and time that the sequential form was submitted.
formSessionURL is the URL of the sequential form session that has been submitted.
You will also notice that all other placeholders from the sequential form now start with the component label in front:
Convert an Assign Task
An Assign Task can be converted into a Form or an Form Section component. Doing this will turn the Form component into a Form or Form Section while preserving all questions and form configurations.
When converting an Assign Task into a Form or Form Section, all task related settings such as assigned users, assigned emails, task subject, task description, due dates, reminder emails and so on will be lost.
To convert a Form Section, follow these steps here