Notes
What are notes?
Notes are objects you can place directly onto your workflow canvas to document information, processes, workflows and more.
What can I do with notes?
Map out, diagram and brainstorm before you build
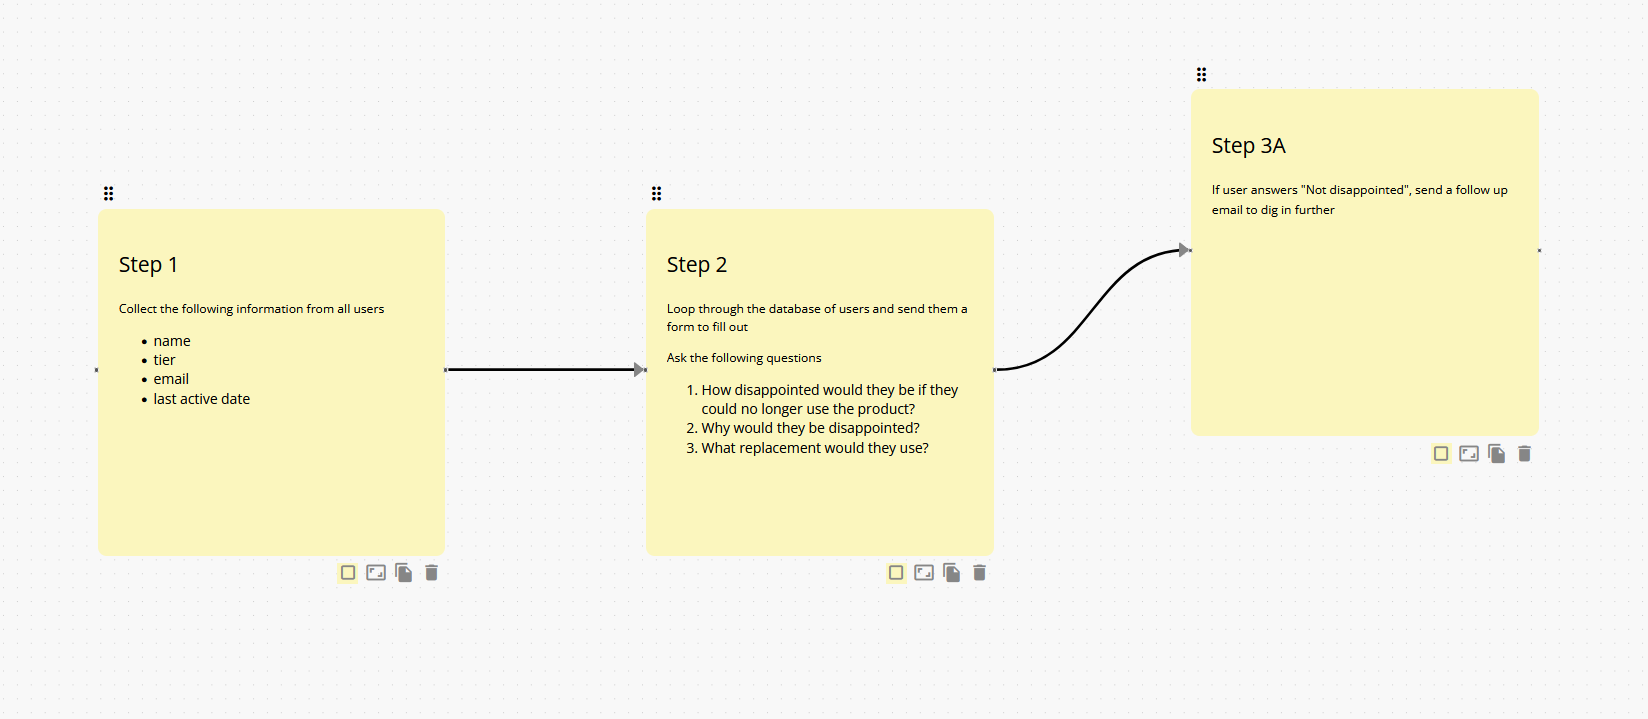
You can use notes to help map out a process or workflow before you start building it. Your team can mark out the individual steps of the process, connect the notes together to create a flow diagram, and then use this as the basis for the next step - building it out into an automated workflow on the same canvas.
Comments, notes, instructions and other documentation
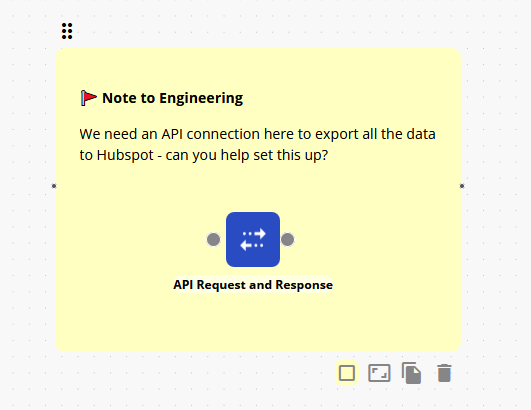
You can use notes to insert comments, descriptions, instructions or other forms of documentation for your workflows.
Swimlanes
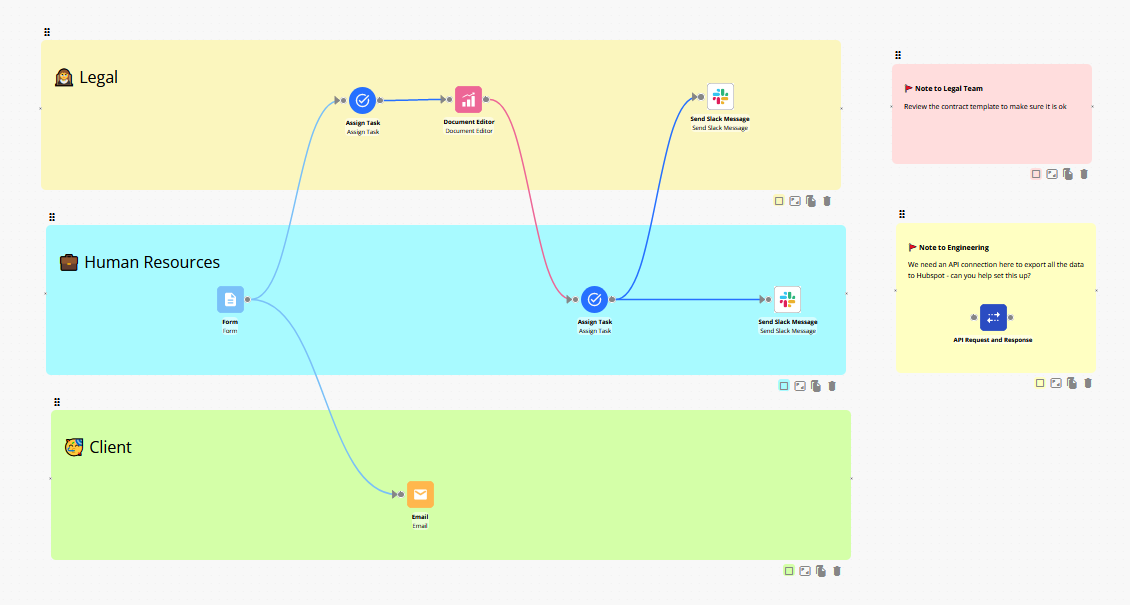
You can also use notes to create swimlanes that mark out which teams are responsible for which actions in a workflow
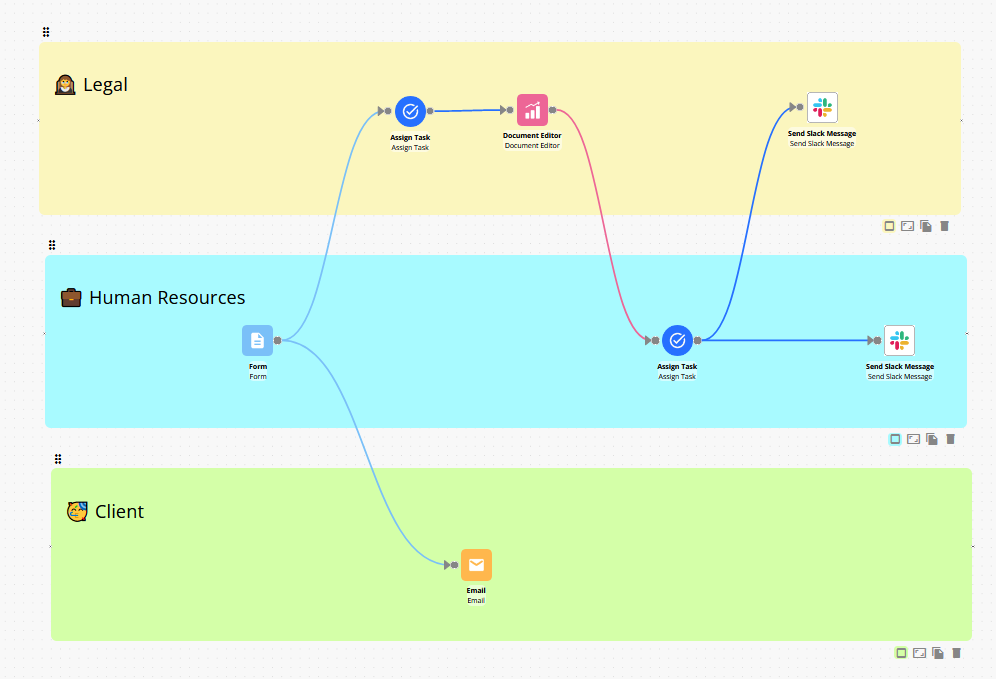
Or use them to record details for other team members or just to jot down ideas and thoughts.
Working with notes
Create a note
To create a note, click on the Notes button on the right hand side of the canvas.
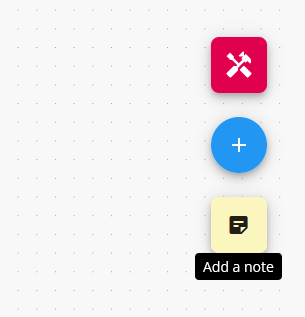
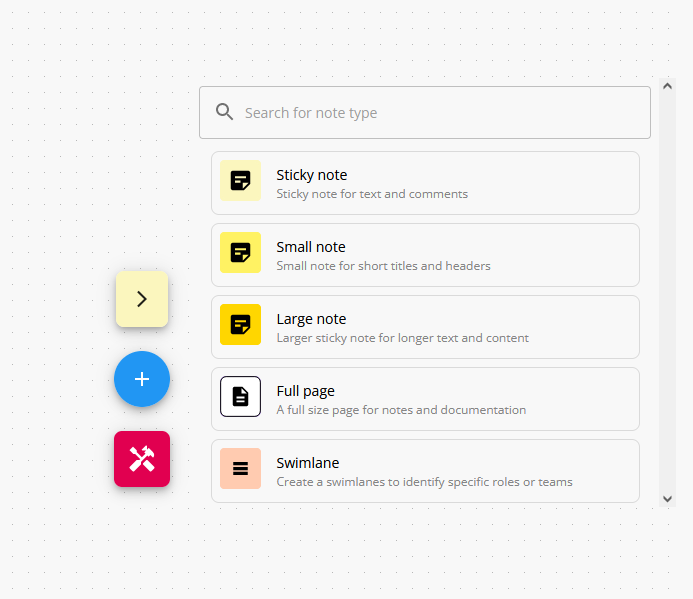
A menu of different types of notes will appear, and you can then drag and drop the note type you want to use onto the canvas
Edit a note
To edit a note, double click into into the note or click the edit button.

Move a note around
To move a note around, click to select the note and then drag it to the desired position on the canvas.
Save a note
To save your edits, click the "Save Edits" button. Notes are also auto-saved when you click out of the note or exit the edit mode.
Make sure to save any edits you made a note before exiting the canvas
Changing the background color
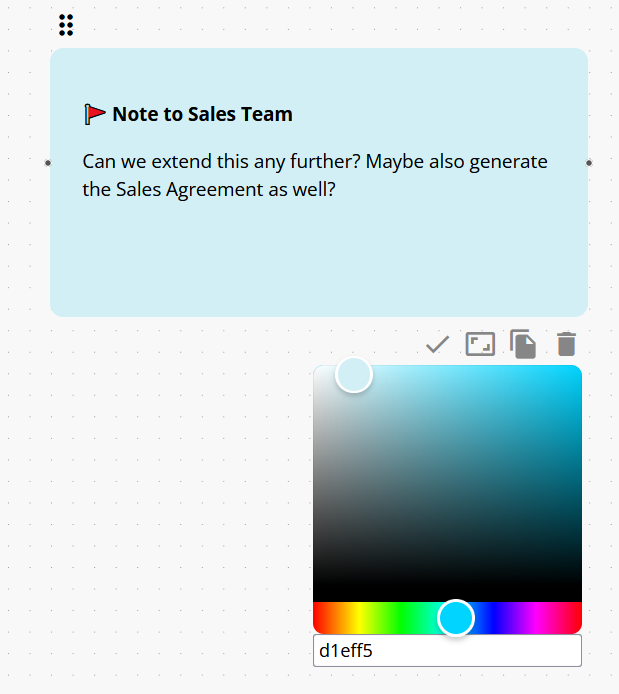
You can change the color of a note by clicking the color picker and then selecting your desired color.
Changing the size of a note
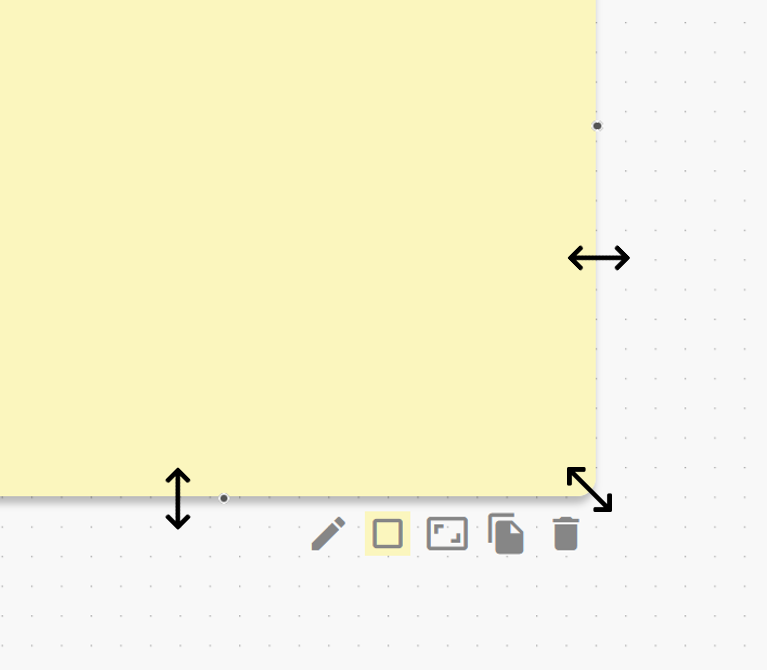
You can change the size of the note by clicking and dragging the bottom edge, right edge or the bottom right corner:
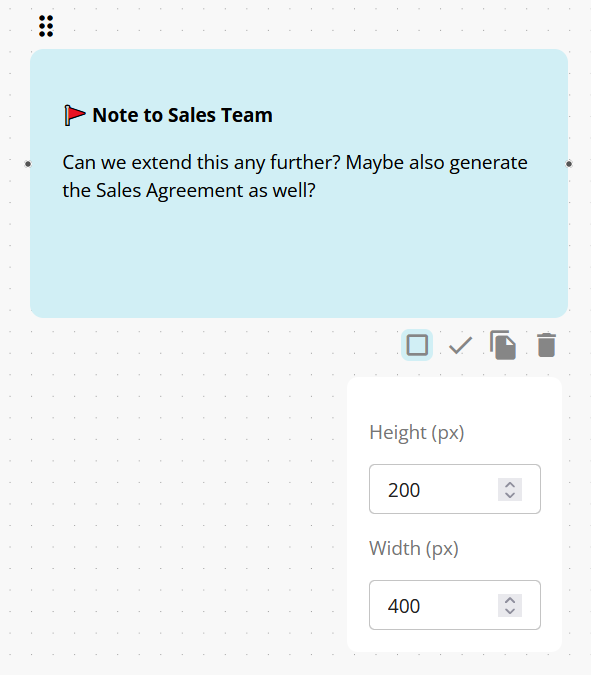
You can also change the size of a note by specifying the dimensions directly:
Duplicating a note
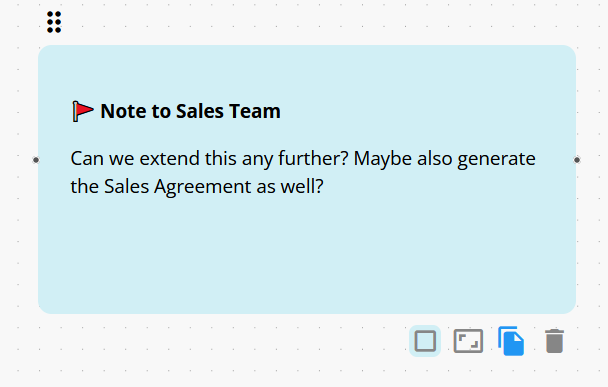
You can duplicate a note by clicking the Copy note button. This will create a duplicate of the note including any content inside of it.
Deleting a note
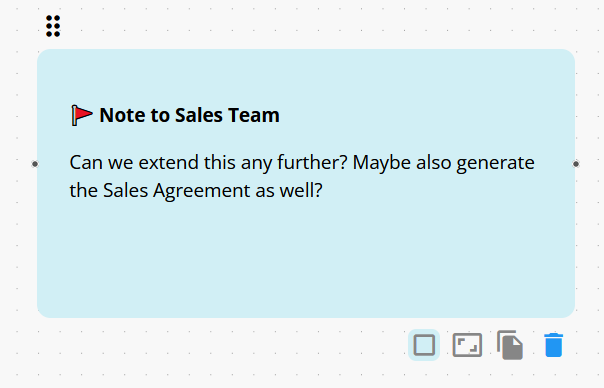
And you can delete a note by clicking the Delete button.
Writing notes
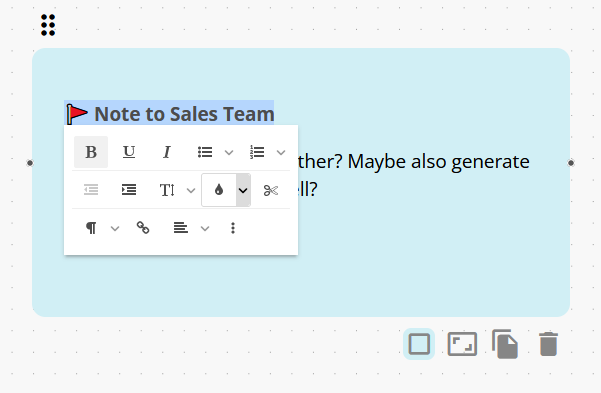
Notes use the same rich text editor as the Read Me, meaning you can insert a variety of content and format it as well. To format content inside of a note, simply highlight it to bring up the formatting menu
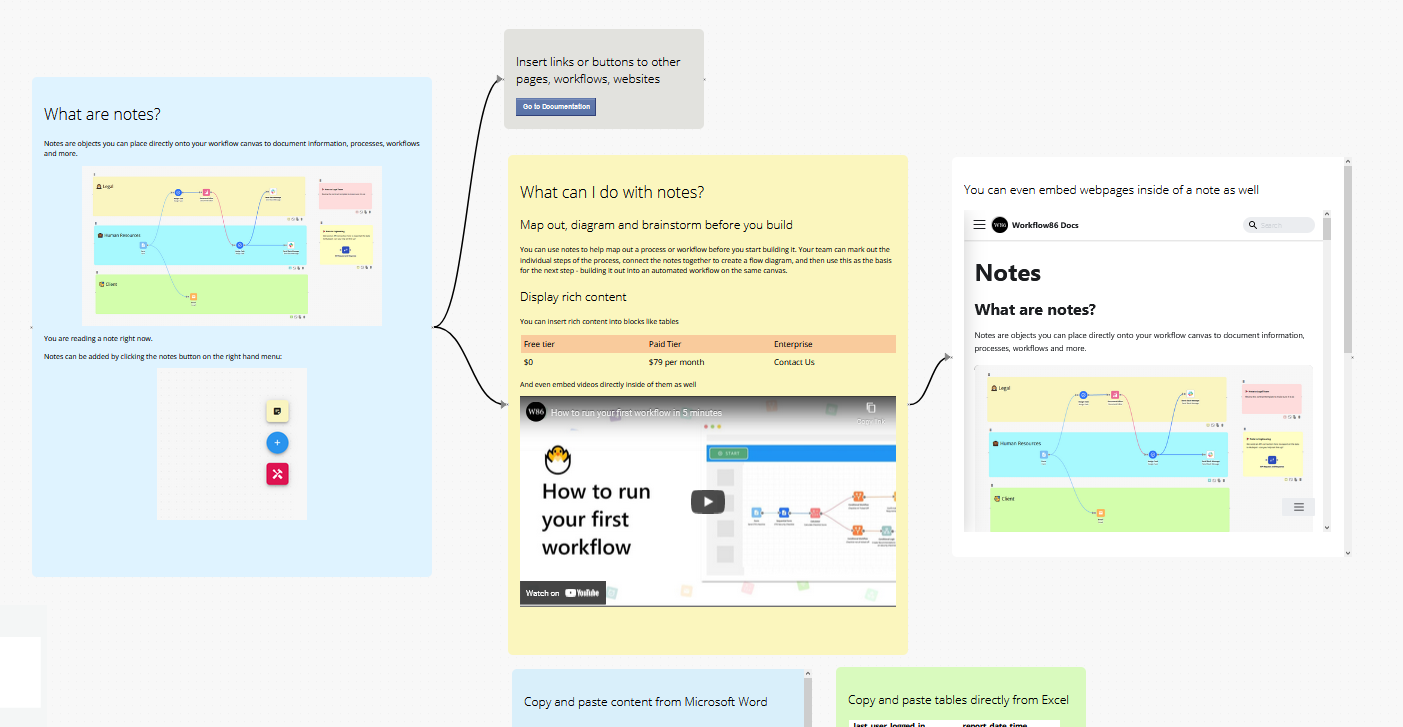
You can insert tables, images, create hyperlinks, and even embed videos
Show/hide notes on the canvas
Notes are displayed and visible by default, but you can toggle to hide them from being displayed on the canvas via the show/hide notes button here on the canvas control panel.
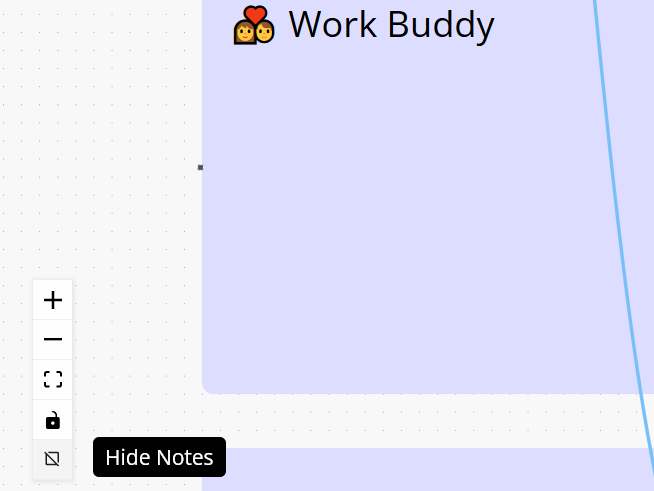
Click the button to hide all notes on your canvas. This will not delete or modify your notes in any way, it just hides them from view on the canvas so they are out of the way/not visible to any users on the canvas.
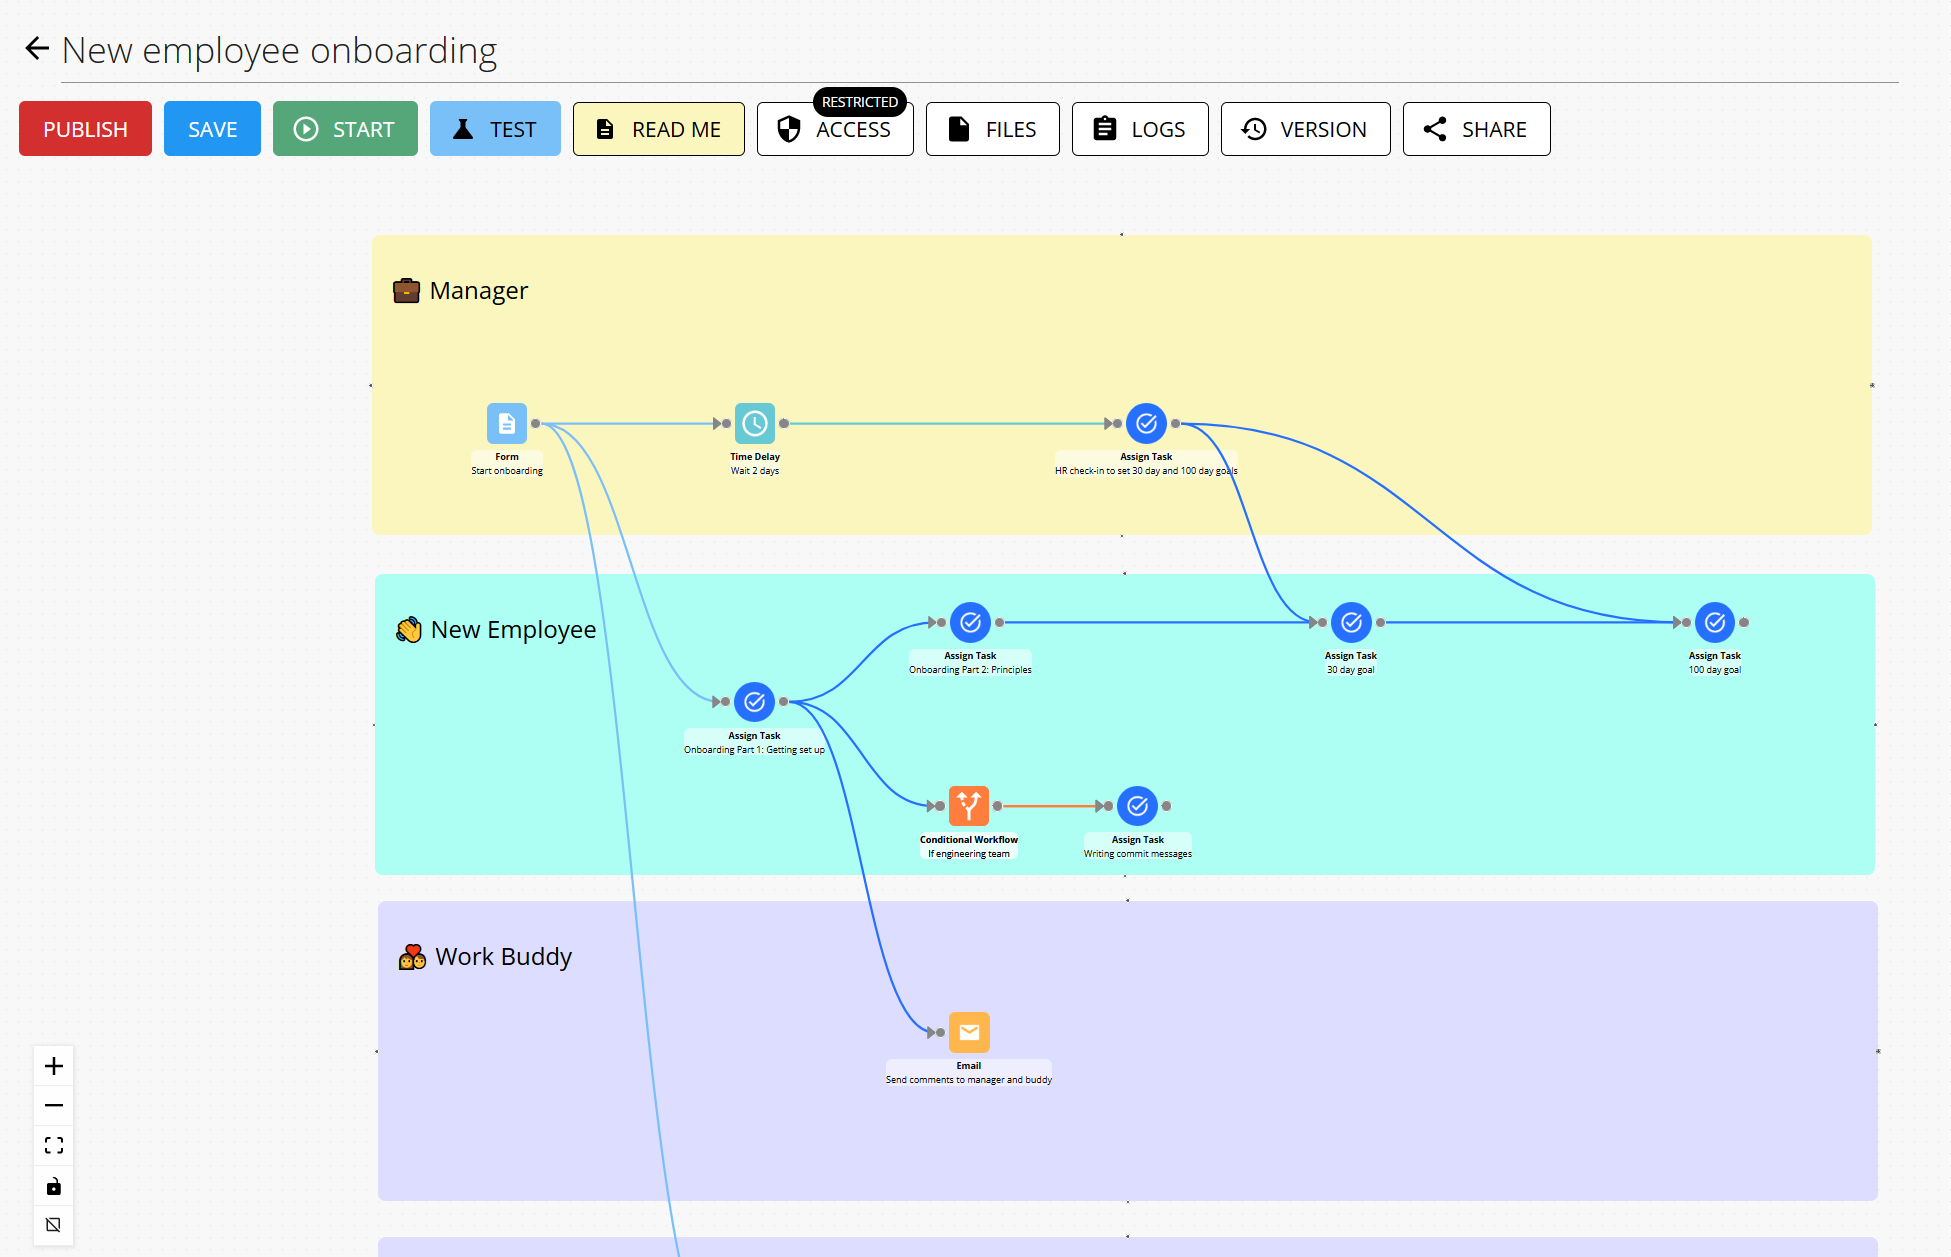
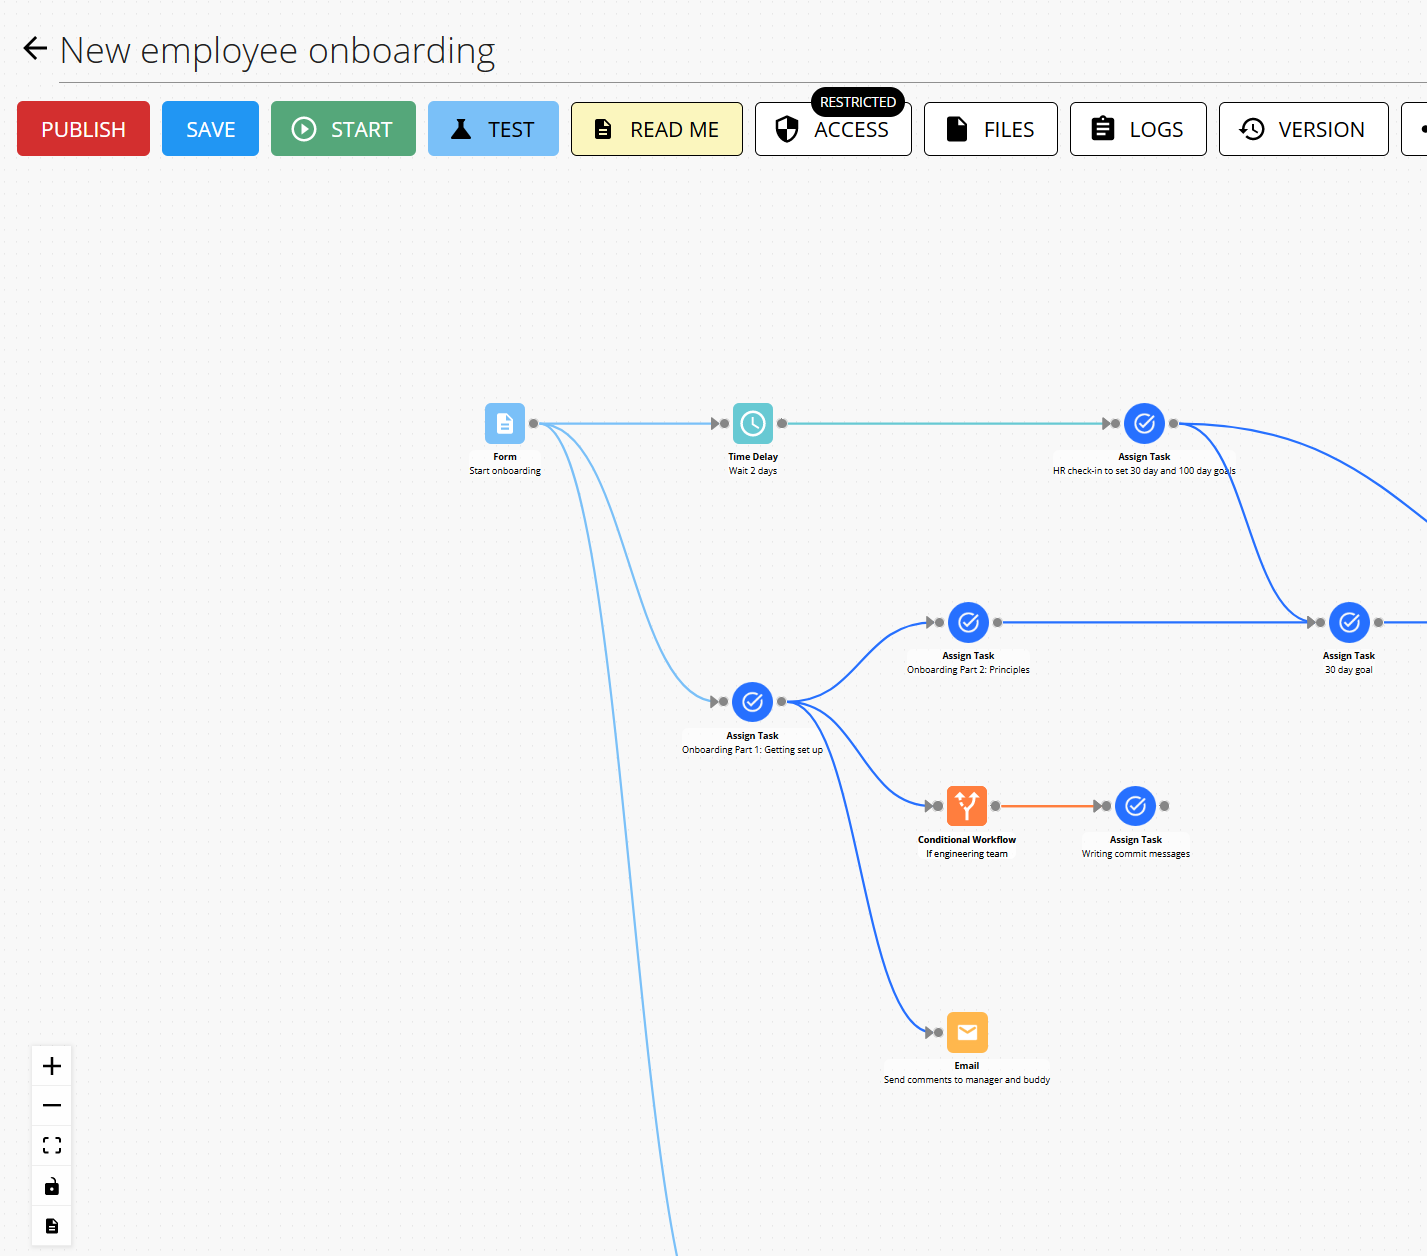
To show notes/make them visible again, simple click the button again:
Map a Zap
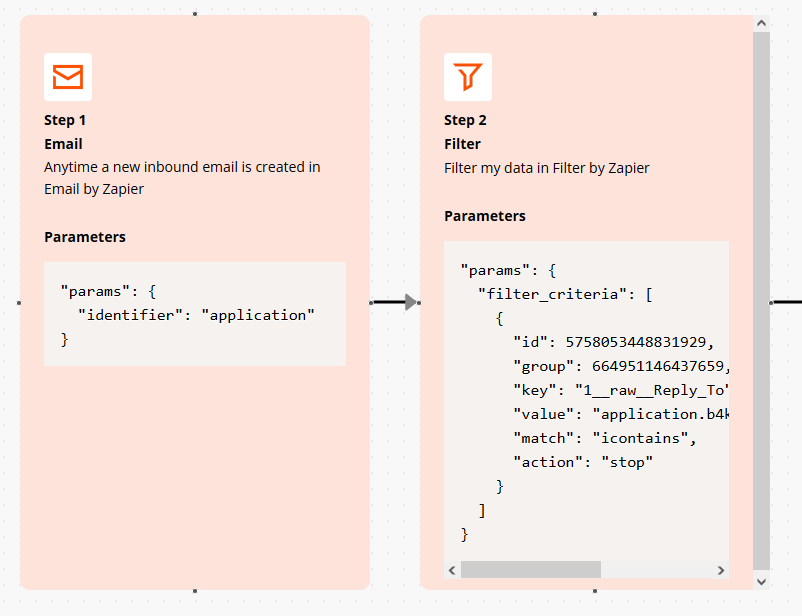
Map a Zap allows you to auto-generate documentation for all the steps in a zap using the Workflow86 notes feature.
Share a Zap
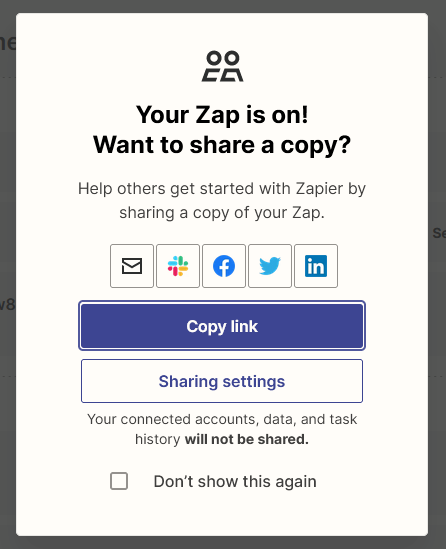
To map a zap, we firstly need to share it and obtain a link to a zap. Go to Zapier and the zap you want to map. If it has not been turned on or published yet, turn it on and then click Copy Link when presented with the dialog below:
You can also press the Share tis Zap button at the top right corner
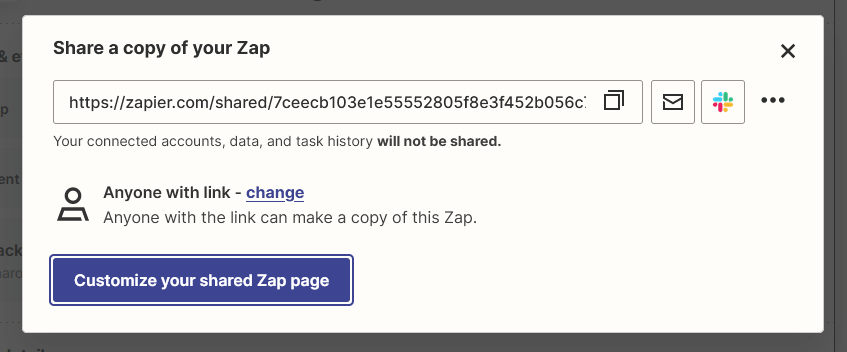
Then copy the link presented in the dialog:
Map a Zap in Workflow86
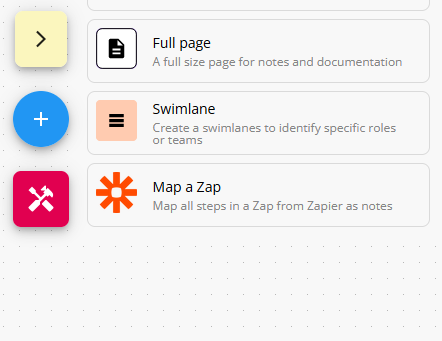
Open the notes menu and then drag and drop the Map a Zap module onto the area of the canvas where you want to place the notes.
A dialog will then appear where you will copy and paste the URL you got in the previous step. Note that you can copy and paste in multiple zaps at once.
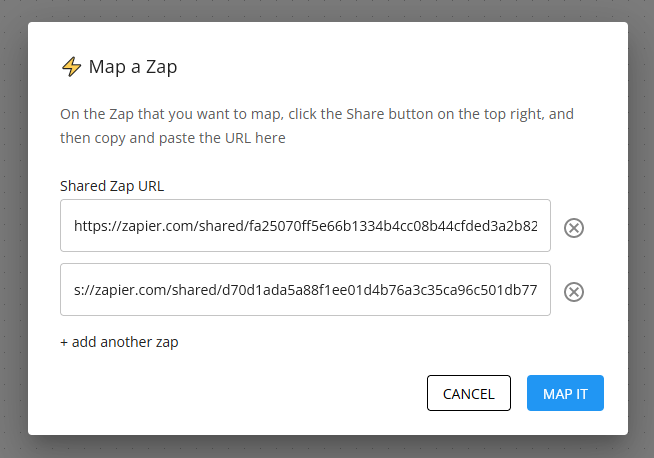
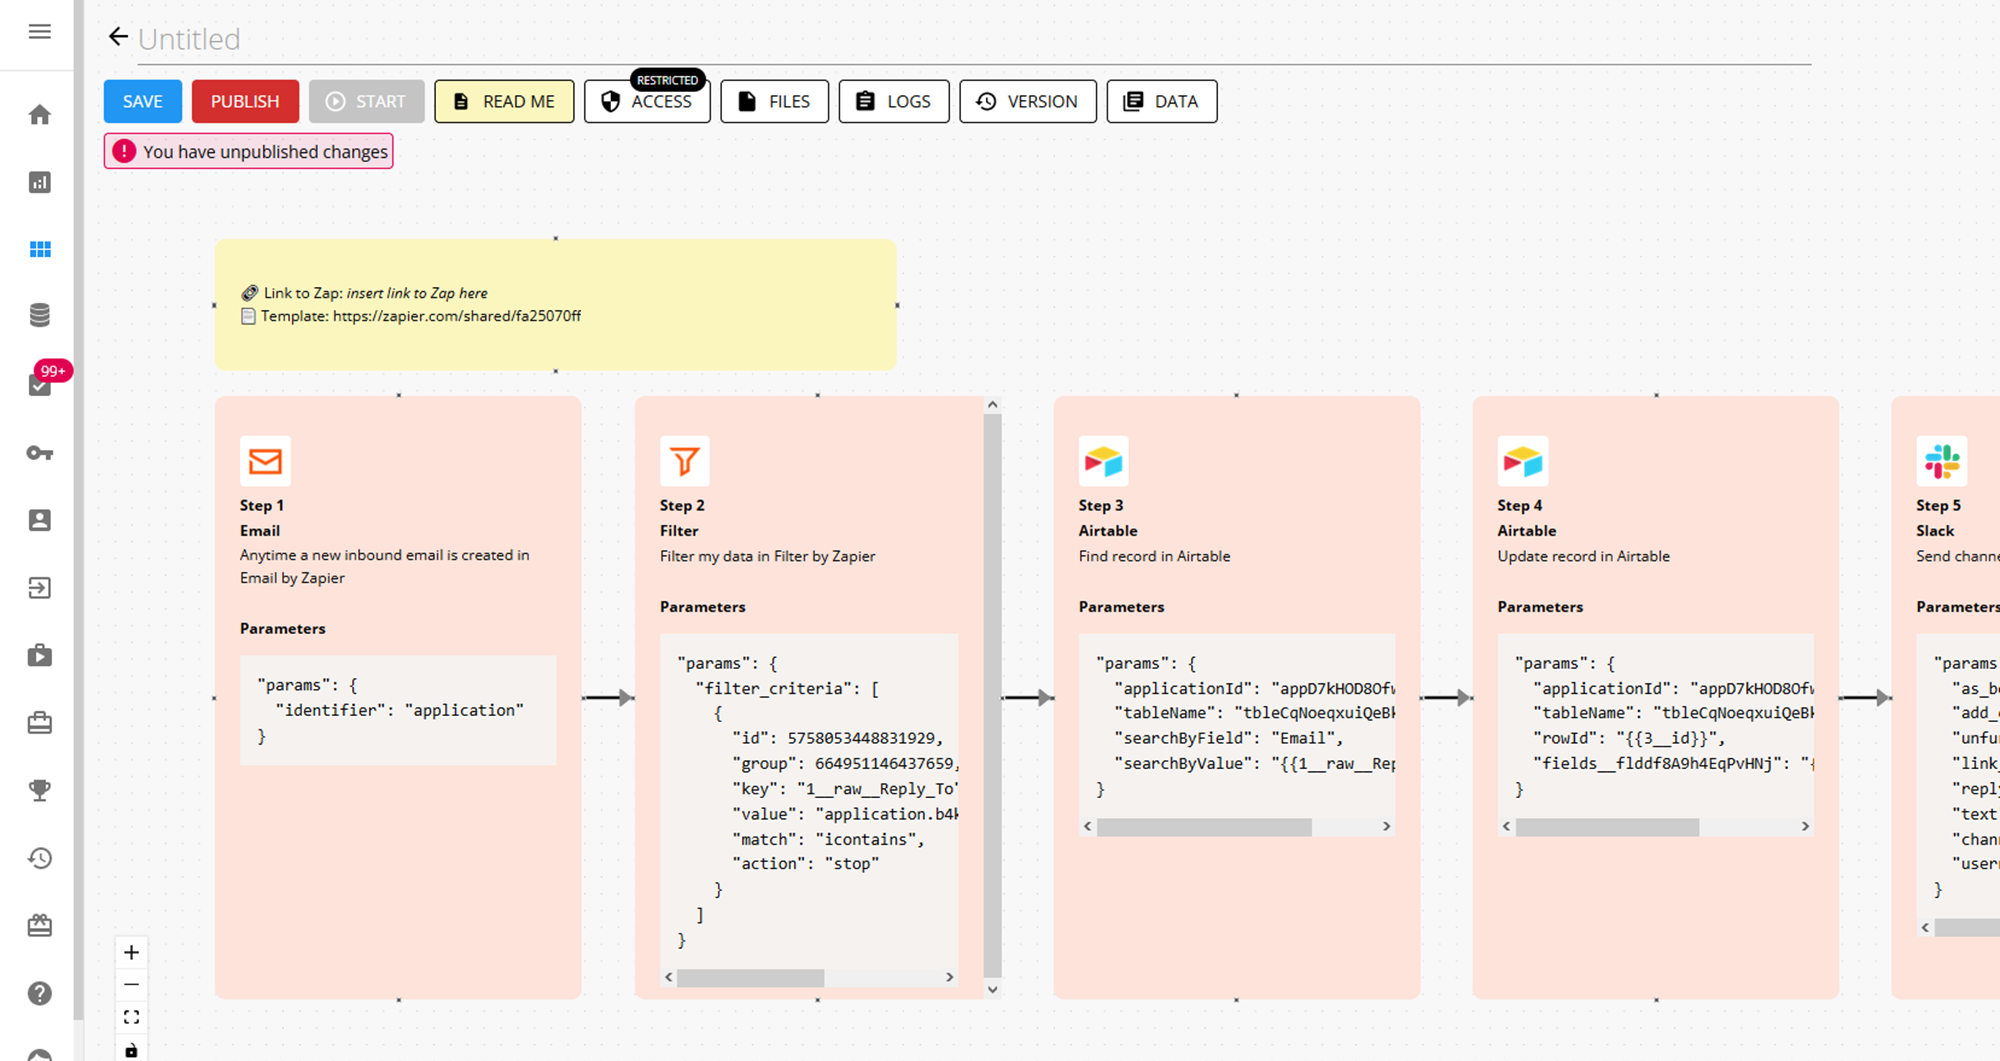
Click Map It to proceed. Once completed, all steps in your zaps will now be rendered as individual notes in the same order and sequence as your zap:

Each note contains the step number, name, description and parameters associated with each step in your zap. You can edit or add further notes by double clicking into these notes.
